July 4, 2019
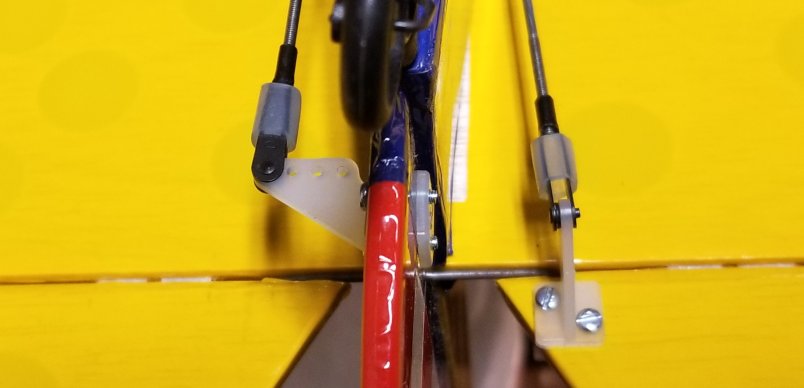
A couple days ago, I purchased several new pushrods at the Hobby Shop. These were all 2mm in diameter and threaded on one end. It was a simple matter to remove the other rods, cut the new ones to the same length, and re-insert them into the tubes. They seemed to move a little easier. After replacing the clevises, I added a small piece of fuel tubing to keep them safely attached.
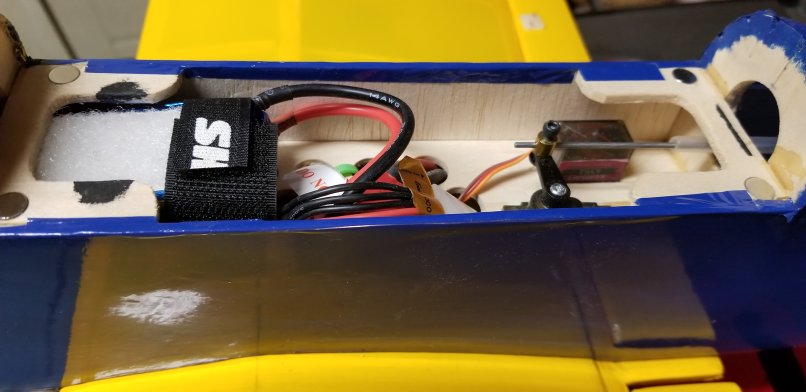
In preparing the hatch to hold the battery, I had a sudden realization that all that space I had planned for wasn’t really there, especially for the size battery I would need (3-cell 2200 mA). The servos took up some space and it was difficult to allow for the battery wires, which normally are plugged in to the ESC towards the front of the plane. So I turned the battery around, but still did not like the way it fit.
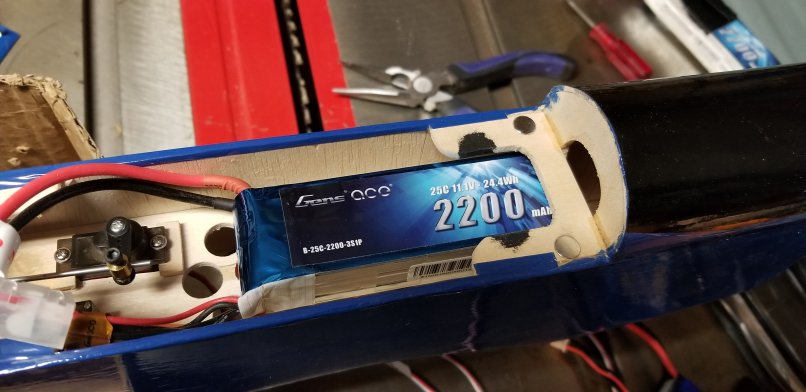
Looking a little closer, I remembered I still had the space that I had created between the battery hatch and the cowling. I marked out a rectangular space beside the floor of the battery compartment and began scoring with a hobby knife. It was tough going because of the small space in which to work.
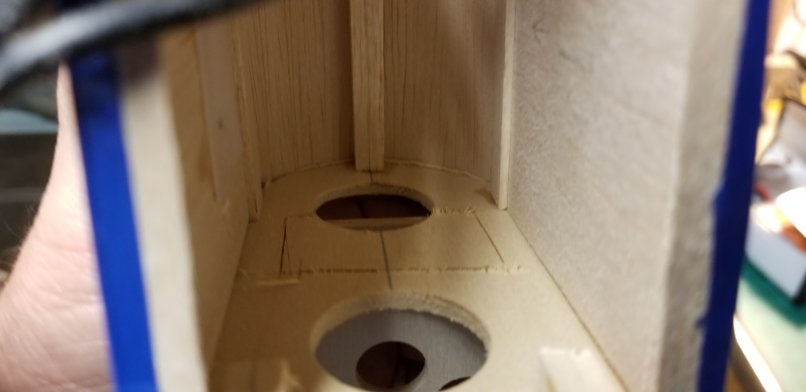
Eventually, I was through and had an extended space to fit the battery. It this case, I would definitely have to put the back of the battery toward the front, allowing the battery leads to trail toward the back.
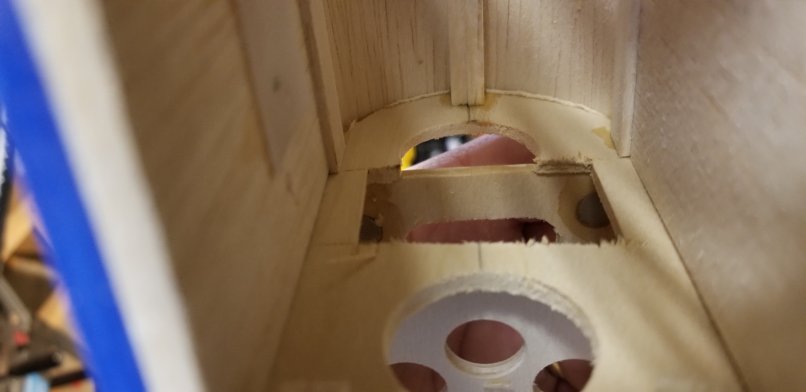
I needed to extend the power connection to the ESC, so I employed a short extension cable, widening the access hole to get the T-connector through. This was all located underneath the battery floor and would be enclosed by the wing.
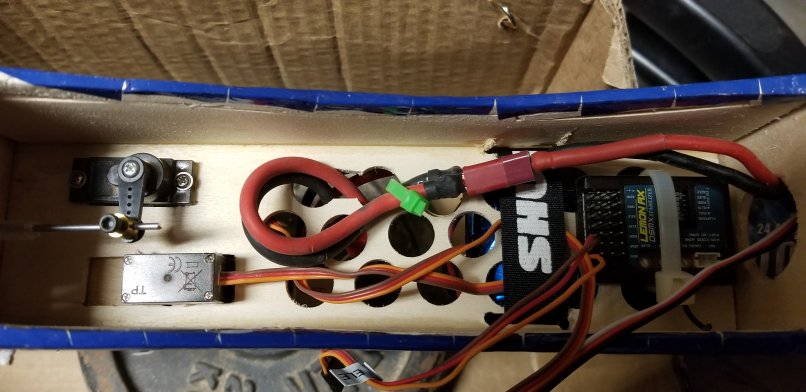
With the battery poking through it’s newfound space, it was necessary to adjust the placement of the ESC. Since there was plenty of room, it was simple to reposition it. Most of the “underneath” electrics held everything comfortably, so I buttoned up the access panel and mounted the wing.
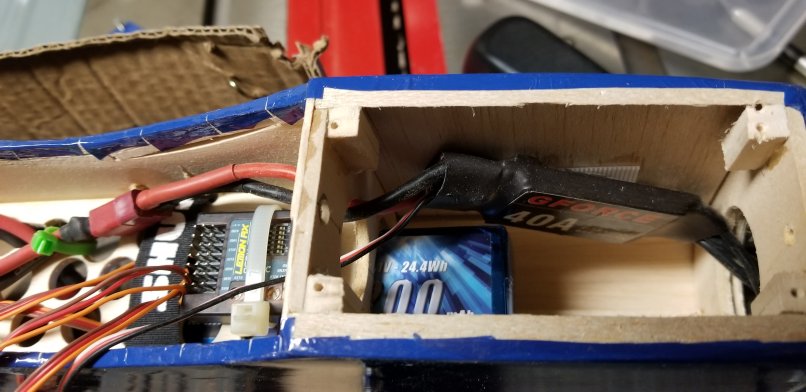
The battery fit neatly in the hatch. I found a velcro strap that would secure the battery if I turned it upside down. This way, it would not be a struggle to remove it each time.
