June 28, 2019
After taking a break from construction for a couple of months, it’s finally time to add the stuff to make this a flying model. Installing the control rods and servos, along with the required electronics is something with which I do have some experience. The trick is to work through any idiosyncrasies of this particular model.
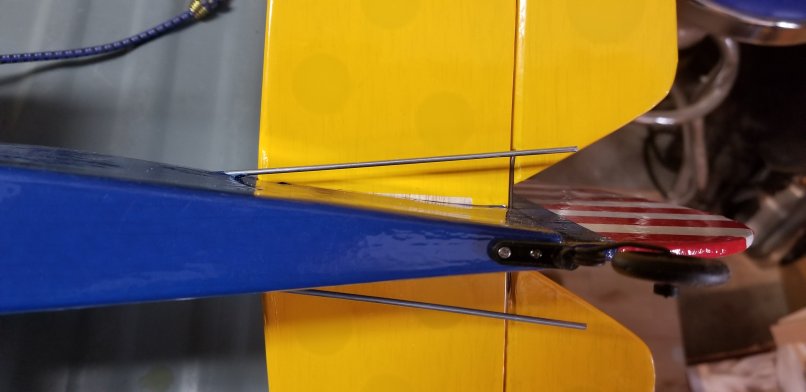
Since I had been careful when installing the tubes for the pushrods, when I sent the rods through, they were perfectly aligned where they needed to be. This, of course, would have been problematic without the tubes after the fuselage was covered.
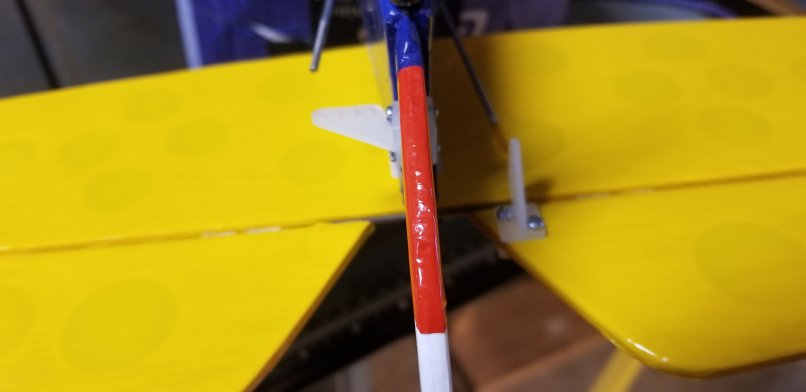
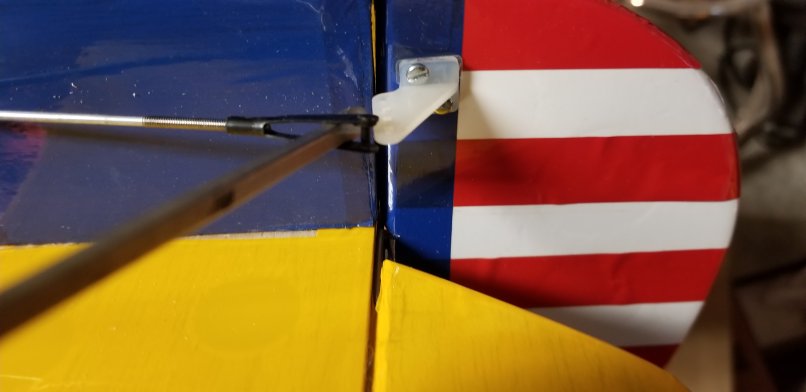
The control horns must be mounted with the connecting holes directly over the hinge point.
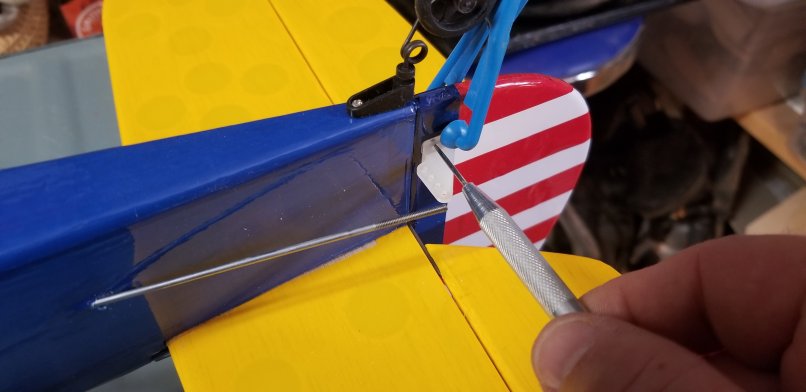
Both horns were installed. the screws go through the balsa and into a plastic plate on the other side.
I screwed a metal clevis onto the threads of the rod and clipped it to the control horn.
I completed the installation of the elevator and rudder control rods.

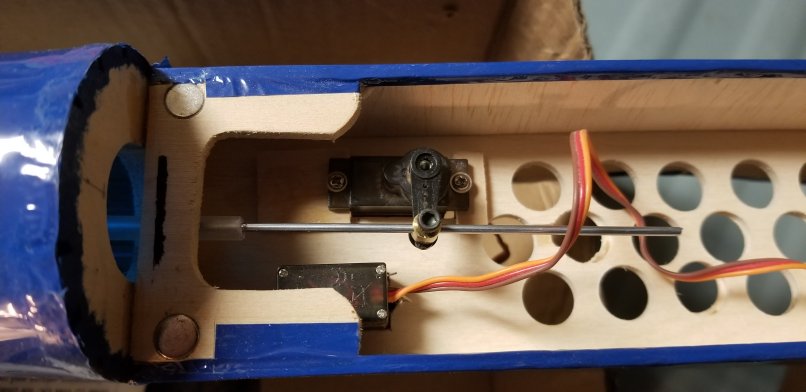
During construction, I had modified the build on the front of the fuselage to allow for an access panel on the underside. I am often frustrated with some models that do not allow room for the necessary electronics.
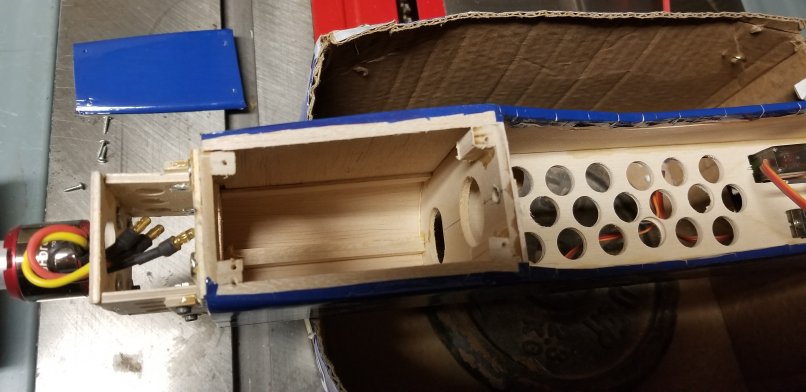
Into this space, I mounted the ESC, the electronic speed control that will distribute the power from the battery to the motor and servos. I used velcro to attach it to the side of the fuselage, plugging the three leads into the motor.
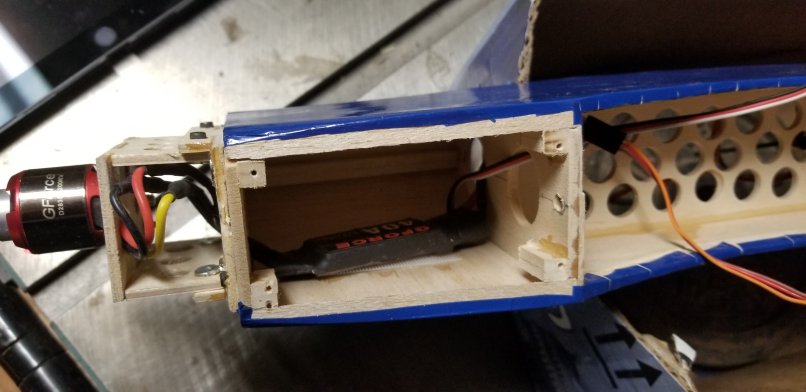
I then installed the servos for the rudder and elevator, securing the control rods to the servos using Du-Bro EZ Connectors. Earlier in the construction process, I discovered that mounting the servos side-by-side, as was called for in the plan, meant that the control arms would interfere with each other. I tried adding height to one, but was still unhappy with the results. Since this model had plenty of vertical space, I mounted one servo on top of the central panel and one below. Since the lower one is easily accessible by removing the wing, this mounting arrangement should not be an issue. I didn’t actually bolt the rods to the servo arms at this point, preferring to wait until the arms were centered and the control surfaces were properly adjusted.