November 26, 2018
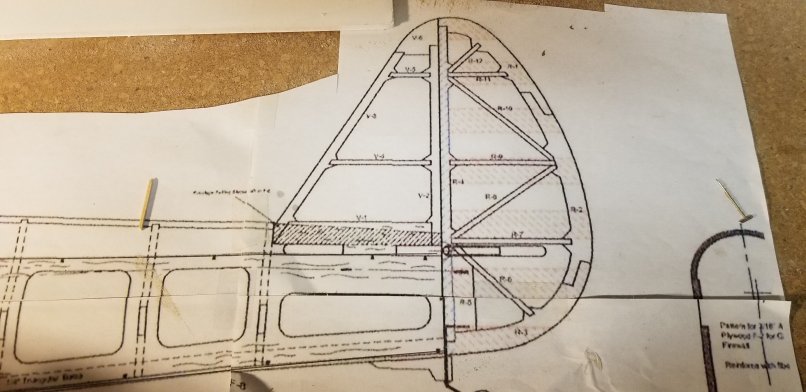
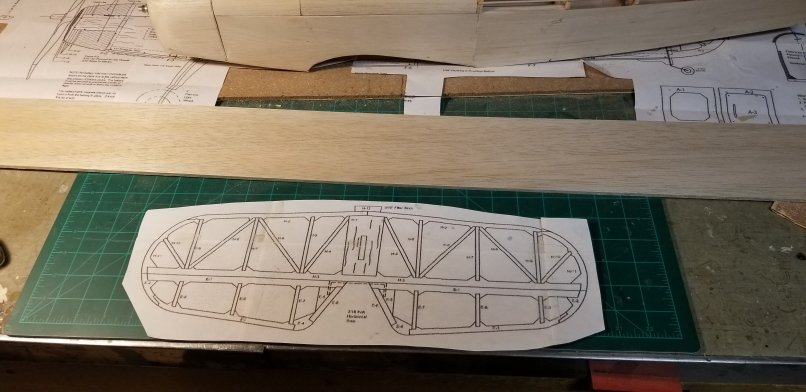
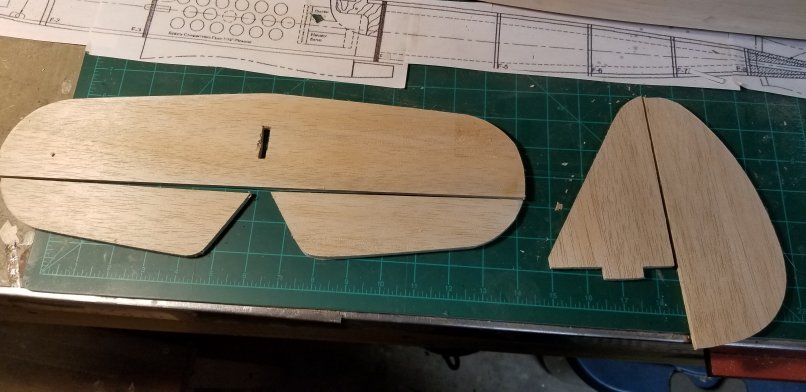
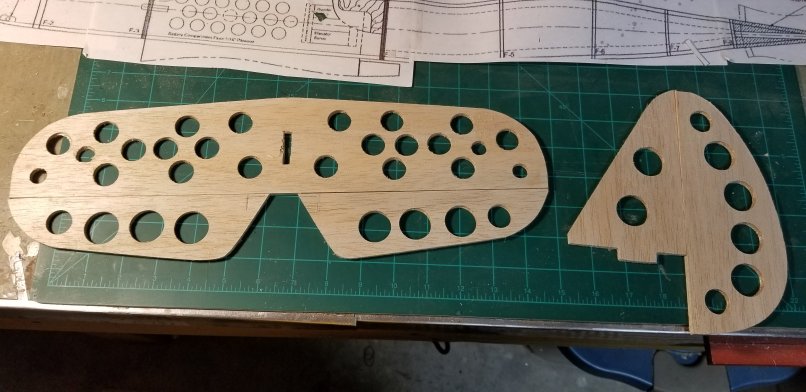
Time to construct the horizontal and vertical stabilizers along with the rudder and elevator. The plan shows these surfaces built from curved pieces and stringers, which would work beautifully if they were already cut out. I could build these pieces exactly as called for, but life’s too short for that. I’m going to use 1/8″ stock instead and add holes to remove some of the weight. It won’t be as pretty, but it should be quicker and sturdier.
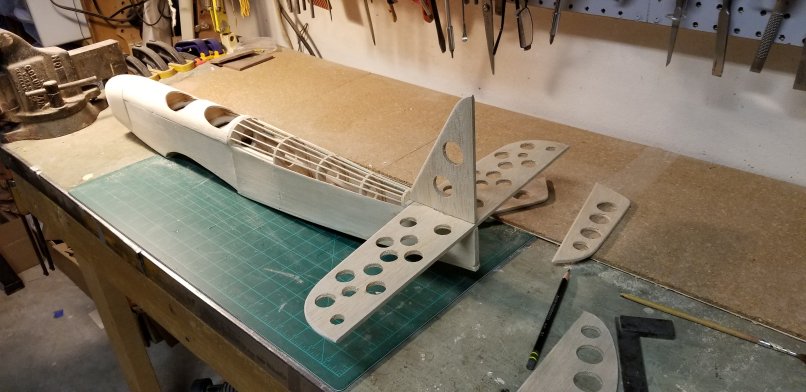
The main thing here is ensuring that the tab on the stabilizer is exactly in the middle and as straight as possible.
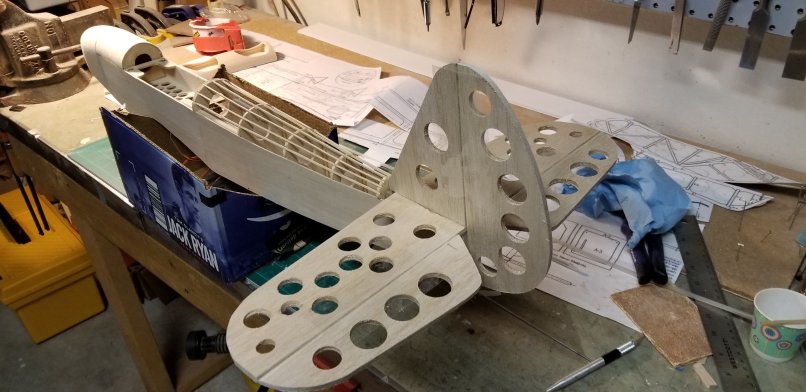
After a dry test fit, I installed the hinges. I acquired an old Great Planes slot cutter at a swap meet in Ocala which made quick work of the hinge slots in the control surfaces.

Unfortunately, I didn’t take snapshots of the process. I used thin CA hinges to secure the control surfaces.
November 27-28, 2018
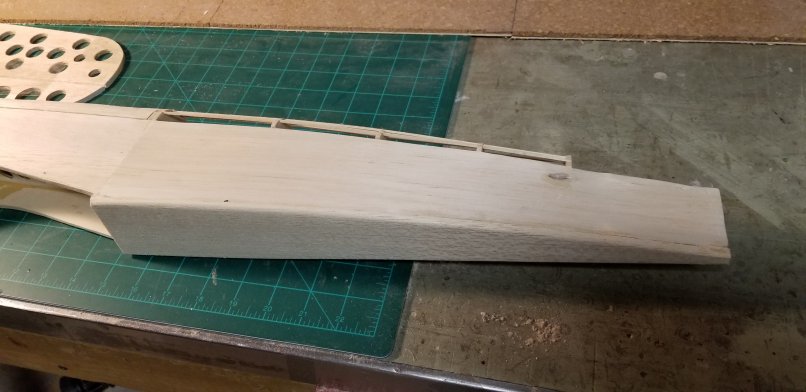
The control rods for the elevator and rudder need to be installed now before closing up the lower part of the fuselage, making accessibility problematic. I decided to install plastic tubes for the control wire to travel through, leaving one end aimed at the area where the servos would be located, and securing the other end to the sides of the fuselage. Once the epoxy had dried, I sanded the tube flush with the fuselage exterior. Note that I used triangular strips on the lower part of the fuselage for a larger gluing surface and greater strength.
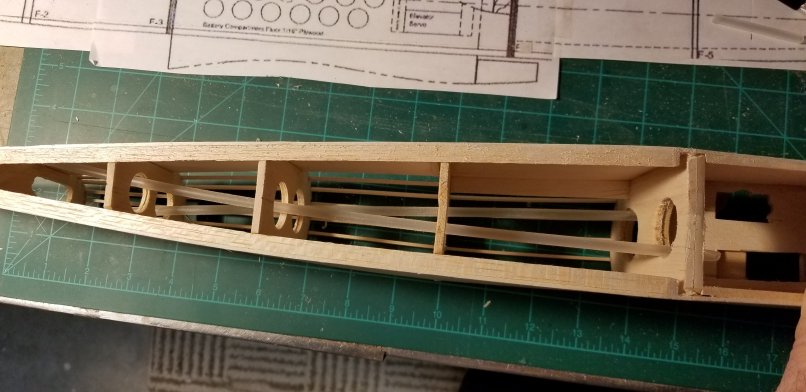
Once I was happy with the location and operation of these tubes, I felt comfortable about enclosing the bottom part of the fuselage with 1/8″ sheeting, then rounding the edges of the lower surfaces.