Tuesday, October 9
With the wings mostly complete, I begin on the fuselage. Again, this will be my chance to correct anything I feel I didn’t get perfect on the smaller model, as least until I reach the same stage of construction. I stash the wing part of the plan and schlep down the fuselage section.
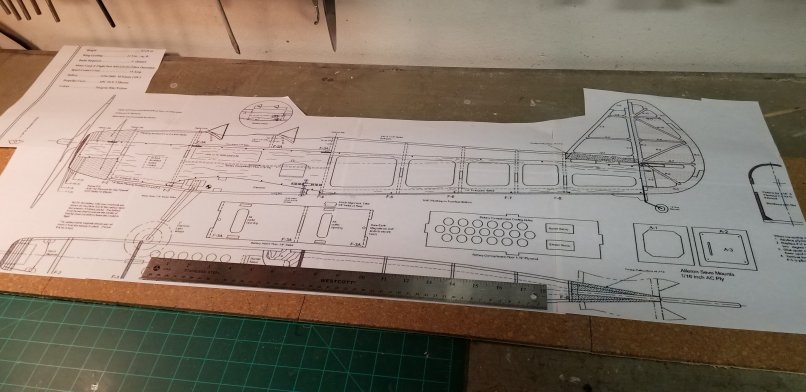
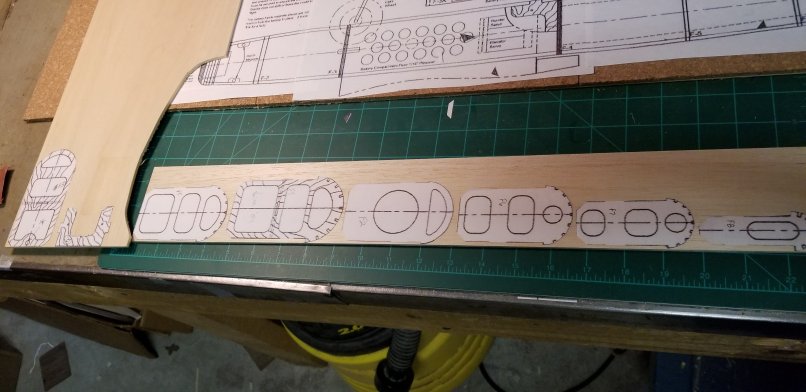
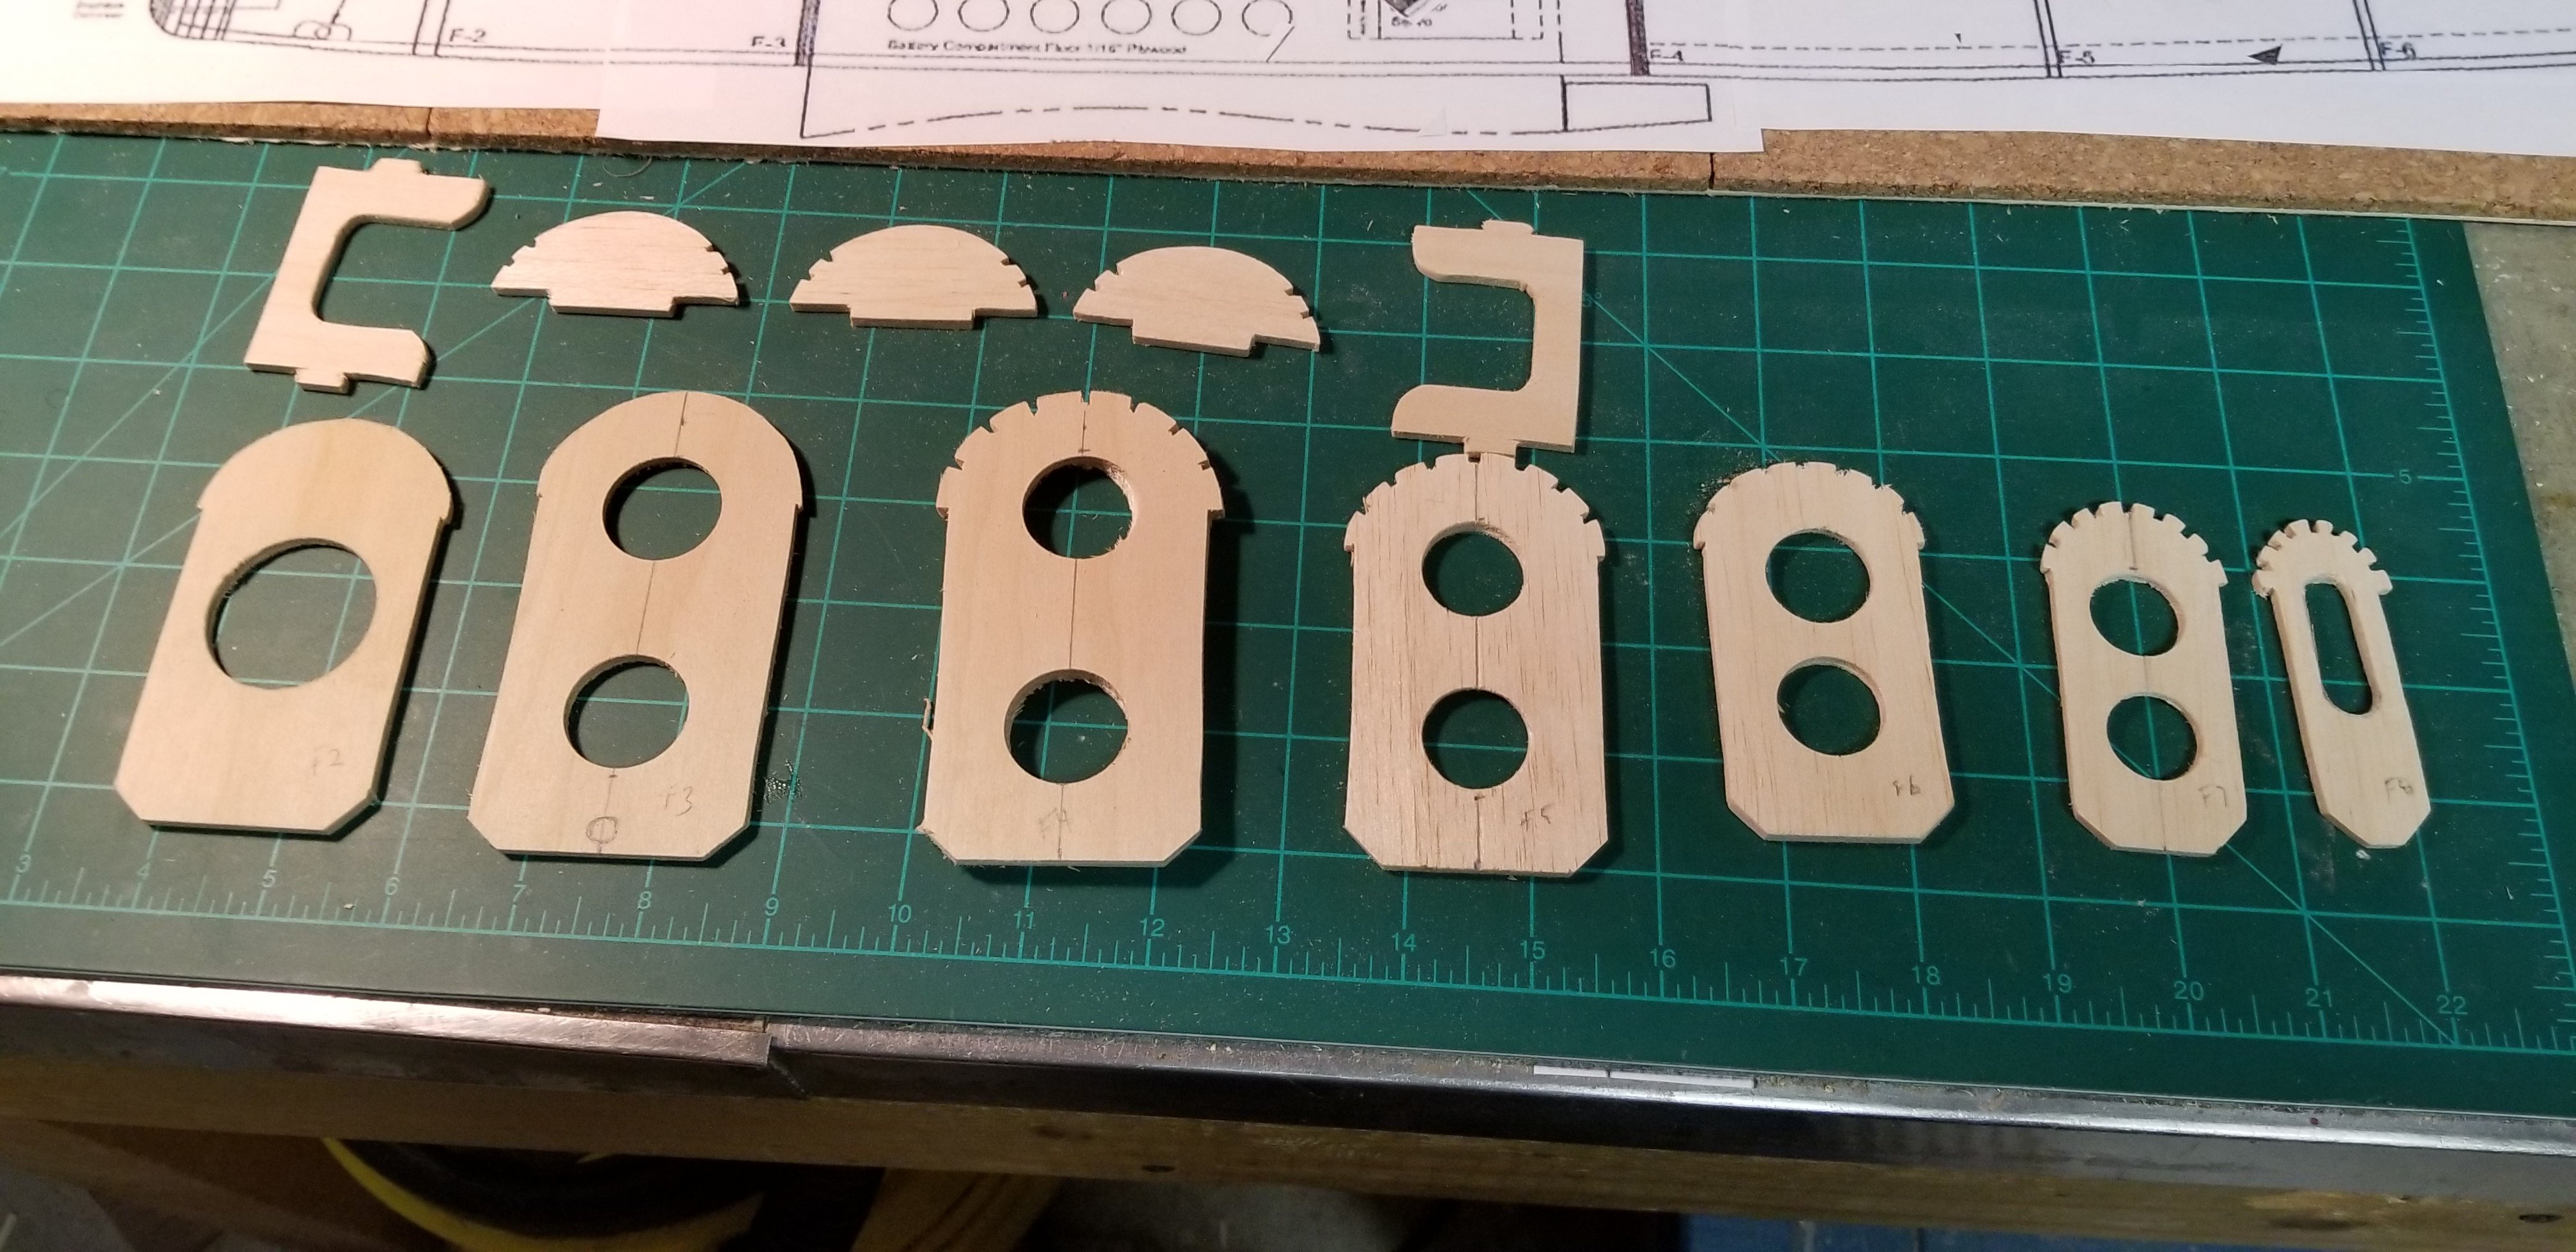
I cut out the formers from the plan, paste them to the balsa, then cut them out and shape them.
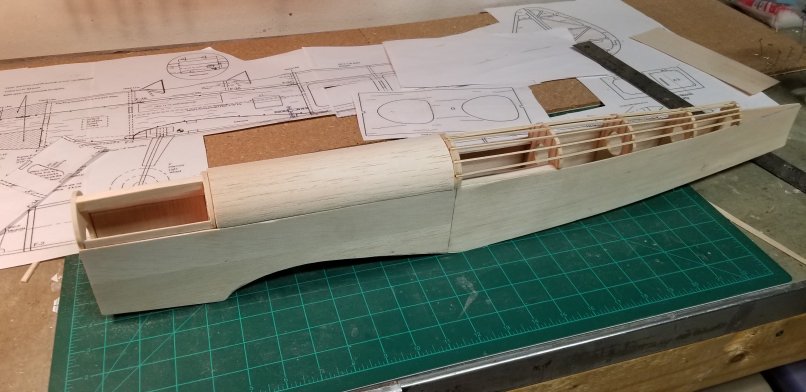
I decide to build the fuselage in 2 main parts, since the front section is basically a box.

I know that I need to keep the fuselage symmetrical, so allow for variation in placing the formers as the back part of the plane tapers toward the tail area.

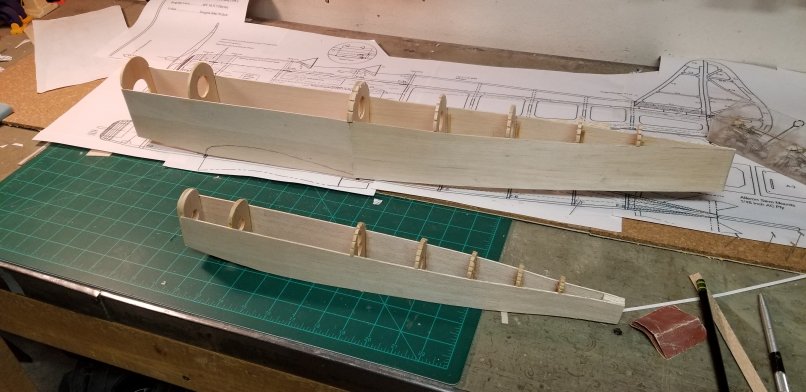
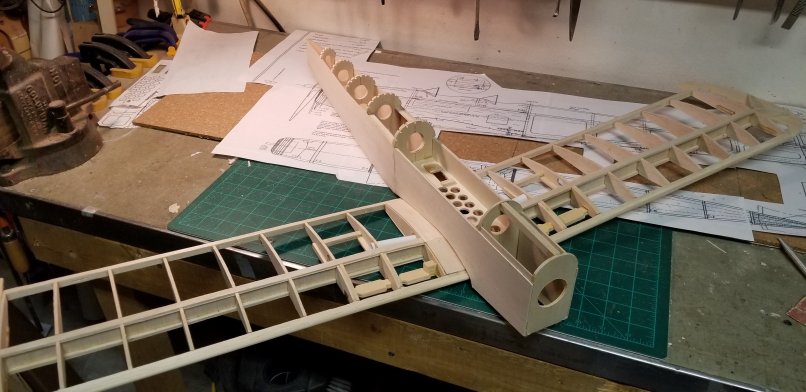
At this point, I have reached the construction limit of the smaller plane. I’m blazing trails from here on out. Here is the 1/16th scale fuselage beside the 1/9th scale model that I will continue to build, for now.
Wednesday, October 10
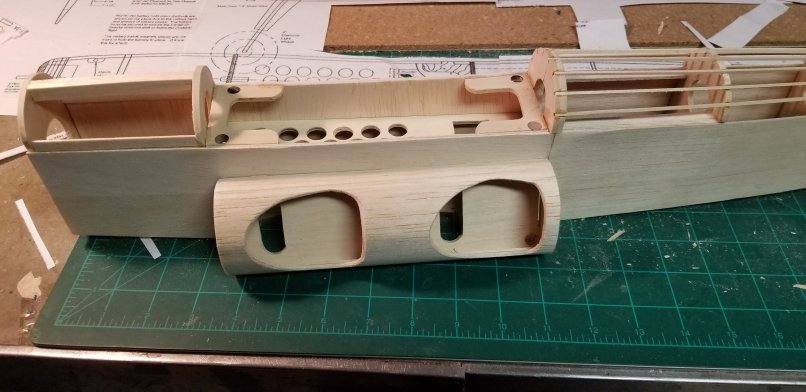
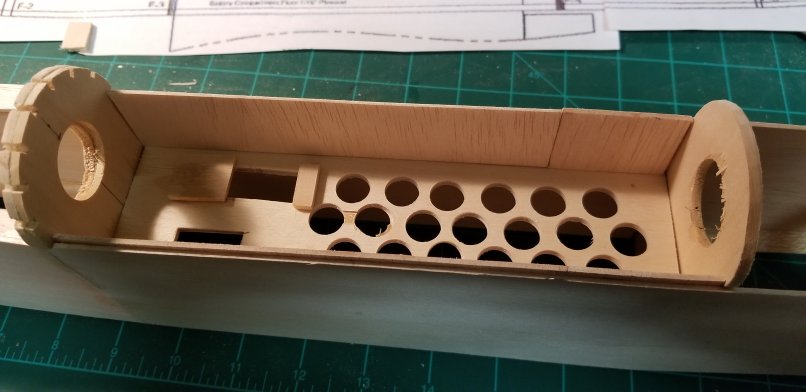
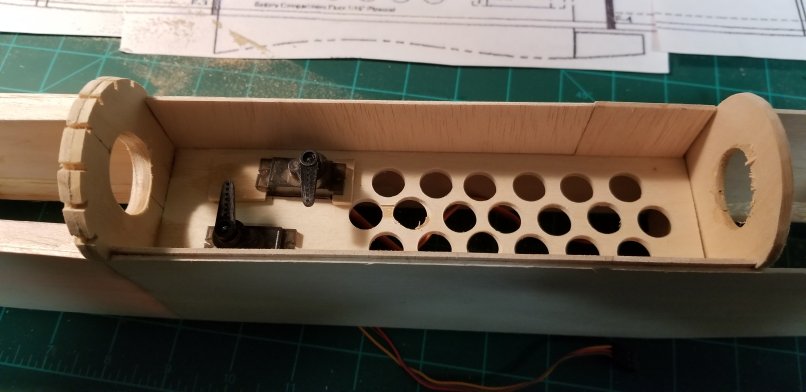
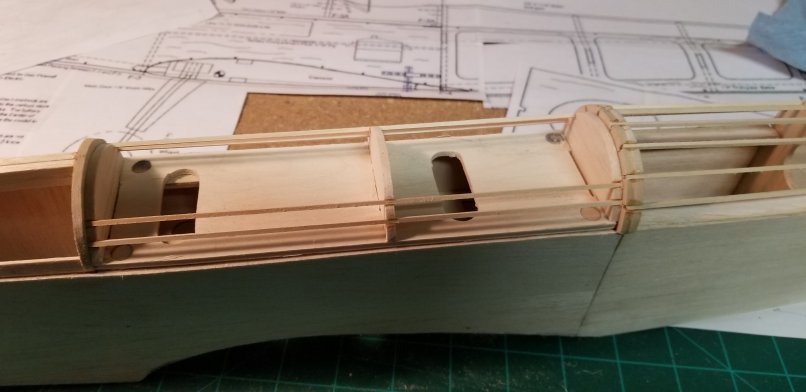
I reinforce the box and create the tray for the batteries and servos. I needed to modify the design of the servo holes so that the control arms wouldn’t get in each other’s way.
Here is the tray with the servos in place.
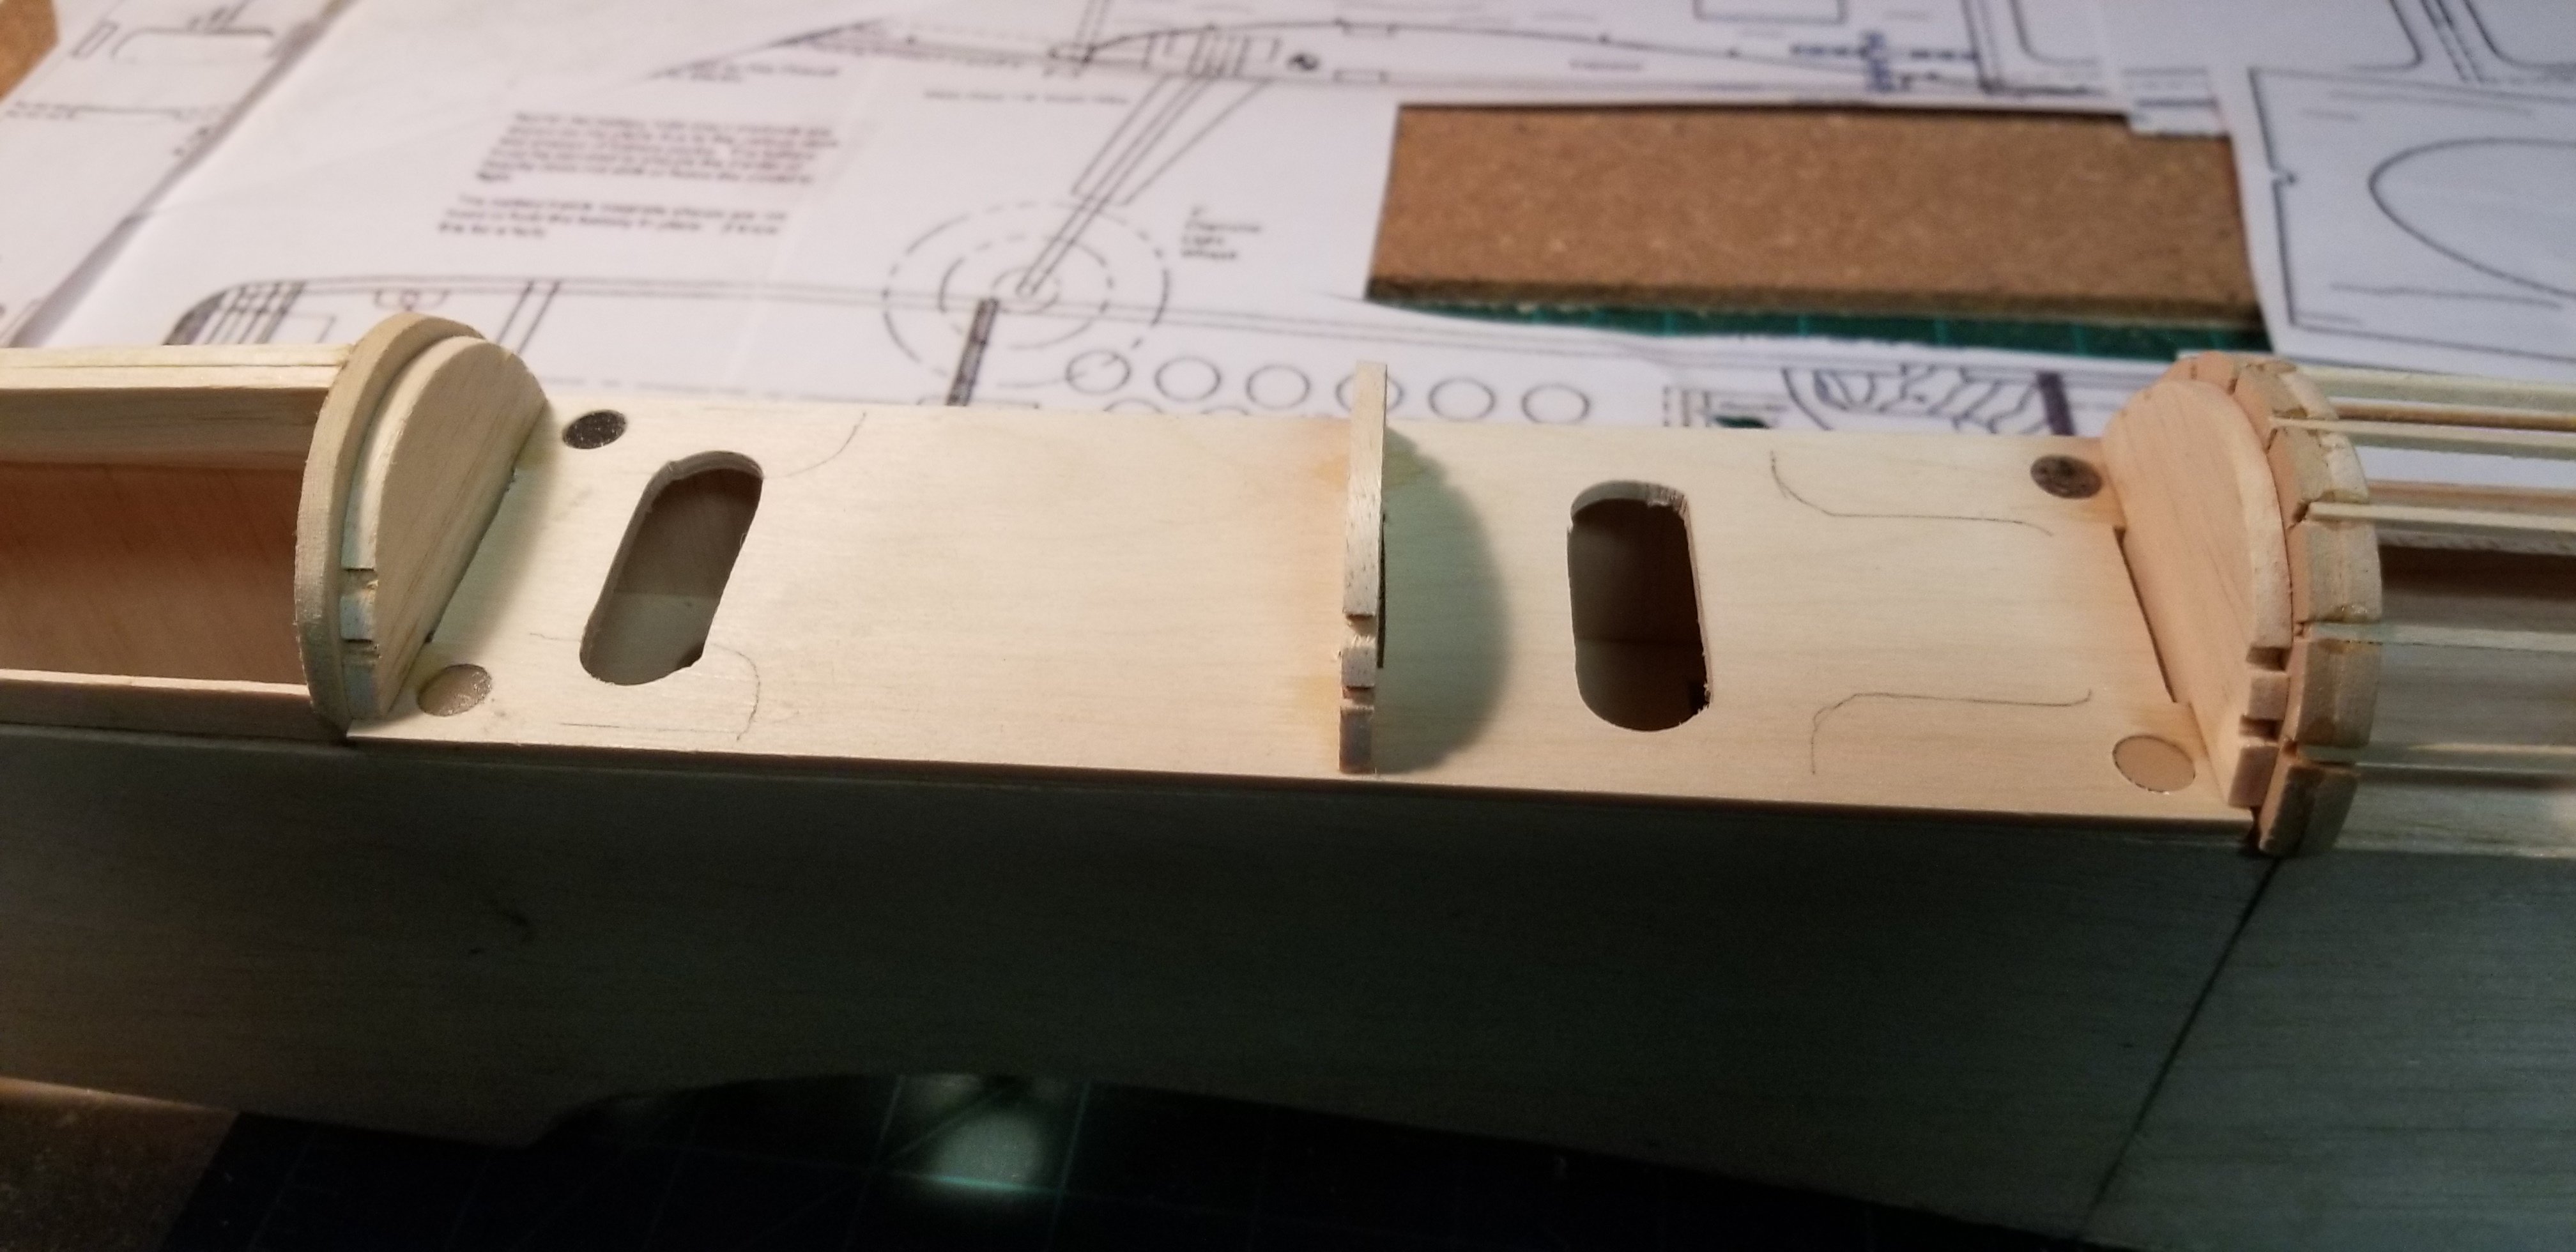
After cutting the space for the wings, I test fit everything so far. I’m digging it!
Thursday, October 11
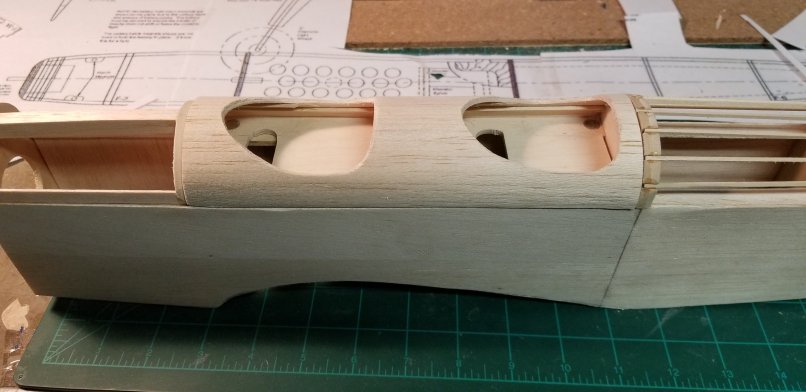
Time to build the hatch and install the magnets that hold it in. I also add the stringers on the spine of the plane.
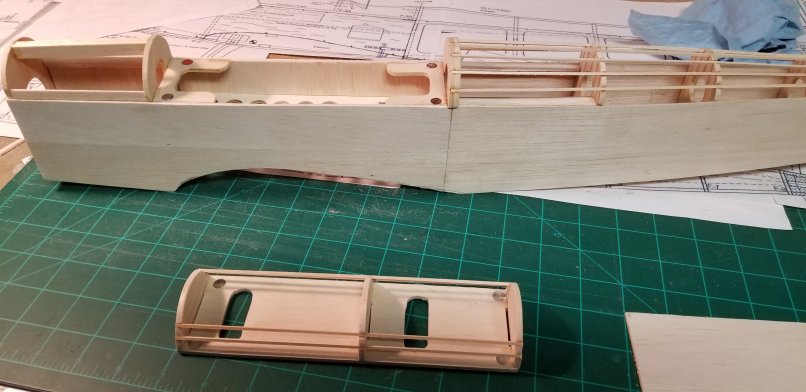
I skin the hatch and cut out the cockpits.