January 27-31, 2019
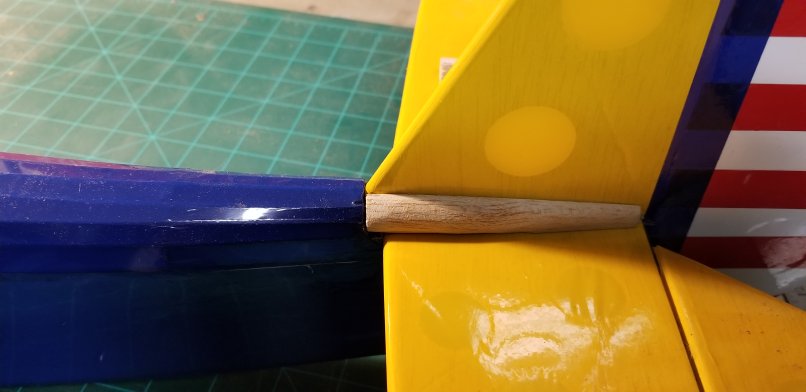
I epoxied the vertical and horizontal stabilizers in place at the rear of the fuselage, taking care that the horizontal stab was level and perfectly aligned with the wings. It just needed some strengthening fairings at the corners, which I also secured with epoxy.
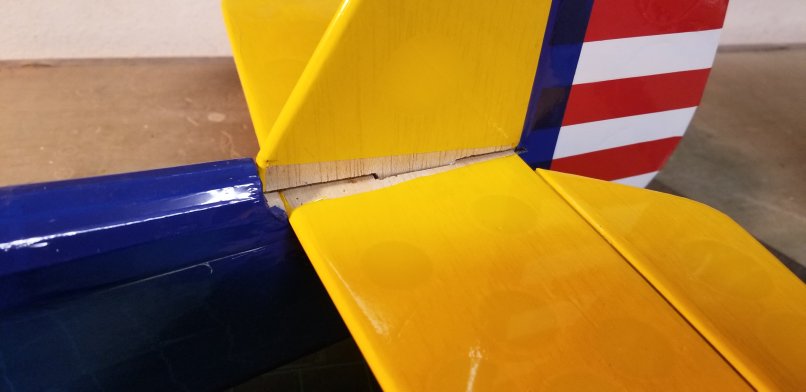
These fairings I constructed out of some scrap balsa and covered with scrap Parklite.
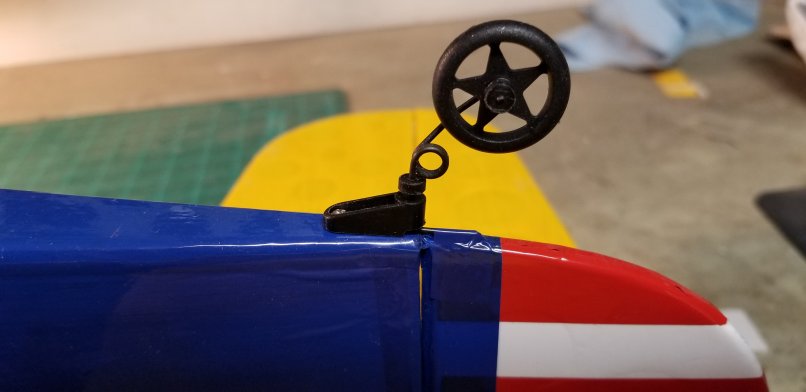
I then attached a tail wheel to the fuselage, extending a wire into the rudder so the plane will steer on the ground.
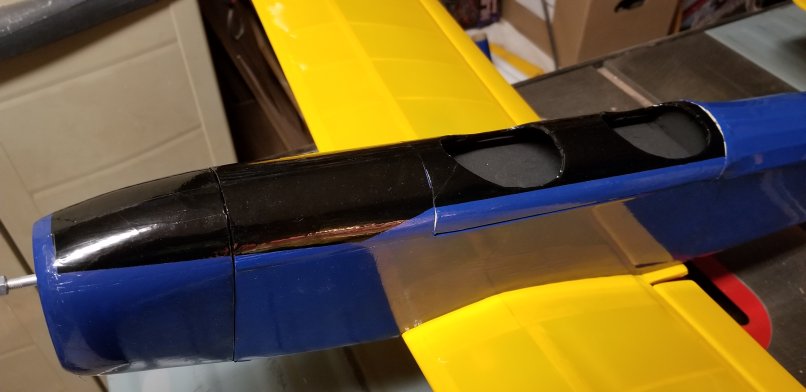
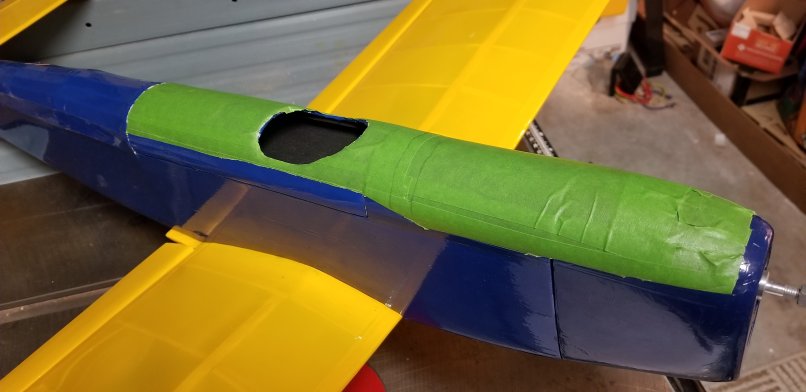
I decided to revisit the anti-glare surfaces. The area that I had previously painted black would scrape off easily, and I wasn’t happy with that. Besides, the black area on the actual plane did encompass both cockpits. With the knowledge that I could layer the covering, I decided to re-do the anti-glare surfaces with black Monokote. To create the pattern, I covered the area that I needed using painter’s tape.
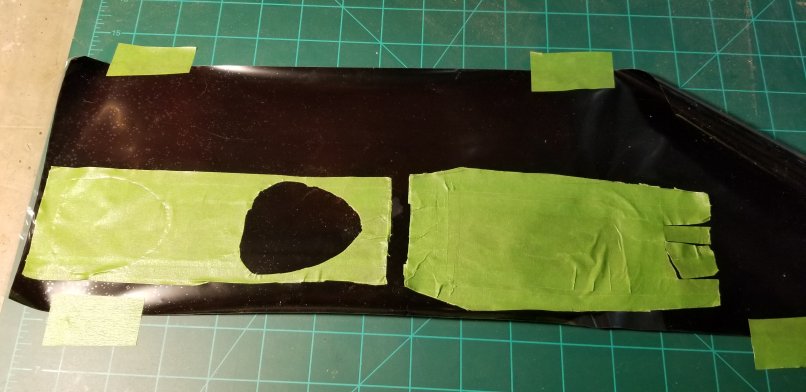
I carefully peeled it off the plane and stretched it on the covering. The cockpit area is fairly square but the cowling area has more complex curves, so I decided to separate them.
I covered the hatch area first,
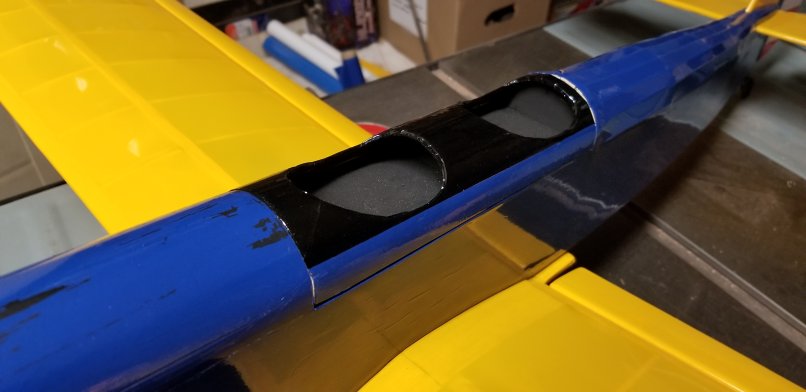
followed by the cowl area. The more complex curves made it a little more challenging, but I am pleased with the results. There were a few tiny bubbles that formed (since the air could not easily escape), and I stuck them with a pin before ironing them down flat.