February 20, 2019
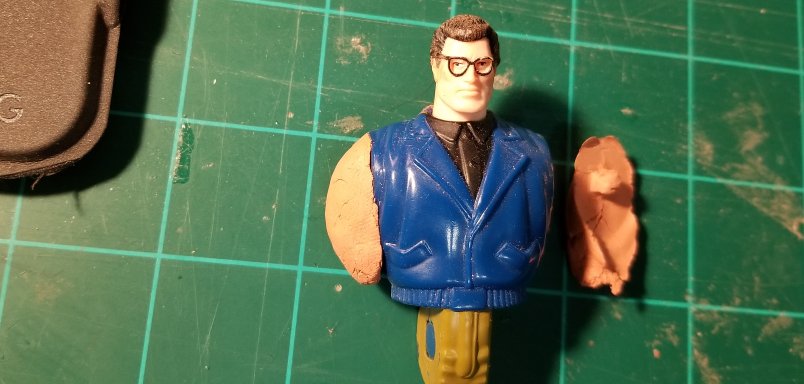
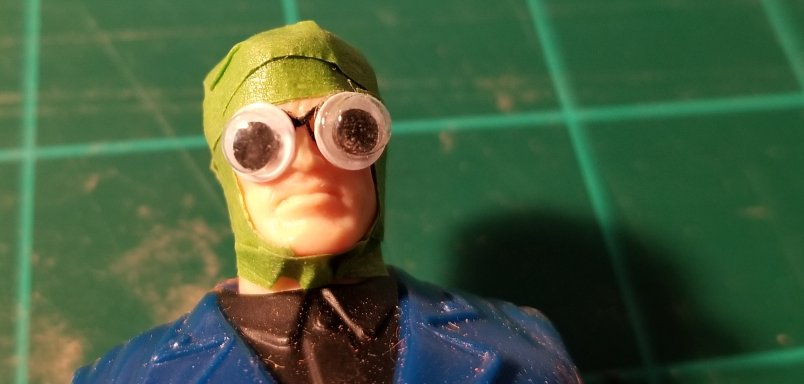
I like to have pilots in my planes if possible (so I have someone to blame if it crashes). I found a couple of candidates at a thrift store. Since I only needed a figure from the chest up, any appendages were superfluous. I am also limited by the width of the cockpit opening. This particular pilot, which appears to be a figure of Clark Kent, had huge arms which I removed and replaced with clay. To save on weight, my plan was to re-create this guy and his partner out of lightweight foam. Here, his shoulder has fallen off. It didn’t need to be permanently fixed, just secure enough to create a mold. I thought about modifying his glasses into goggles. The other figure will have his goggles on his forehead.
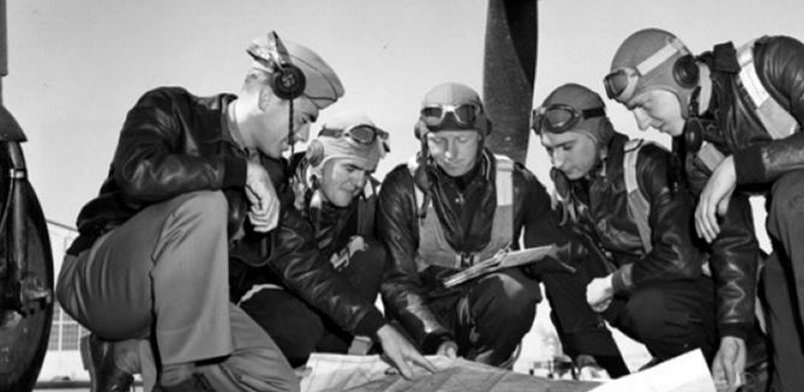
My research revealed several different helmet designs. This is a photograph of actual PT-19 trainees at Hicks Field in Texas. The helmets appear gray, so I went with this design.
Using strips of painter’s tape, I made the rough shape of the helmet. Again, these glasses will become goggles.
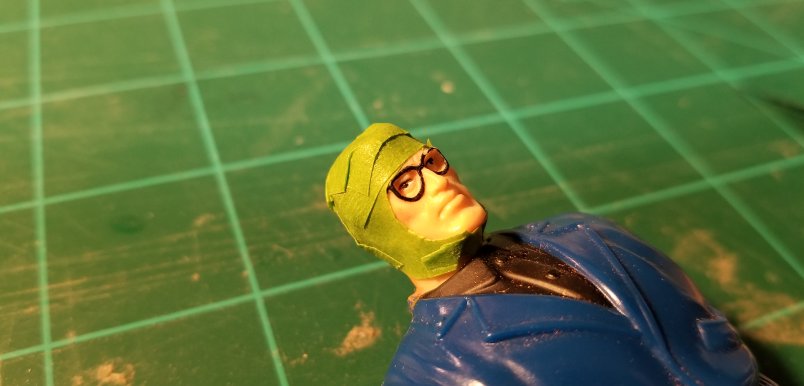
Or, maybe something different…Nah, goggles.
I made the same helmets for both pilots.
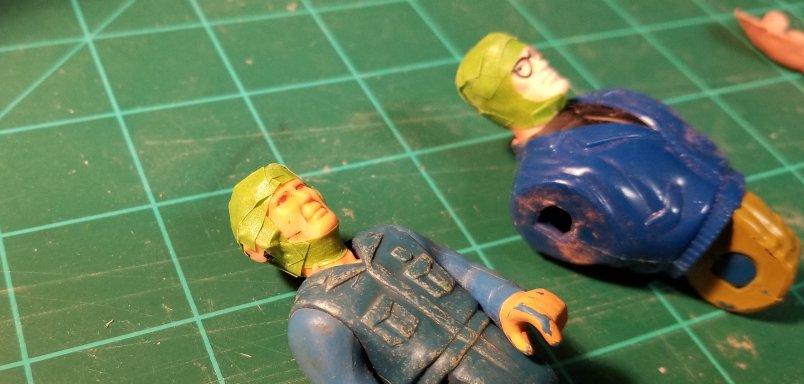
I then made headphones
and goggles out of scrap balsa, covering everything with Elmer’s white glue to smooth it all out.
February 25, 2019
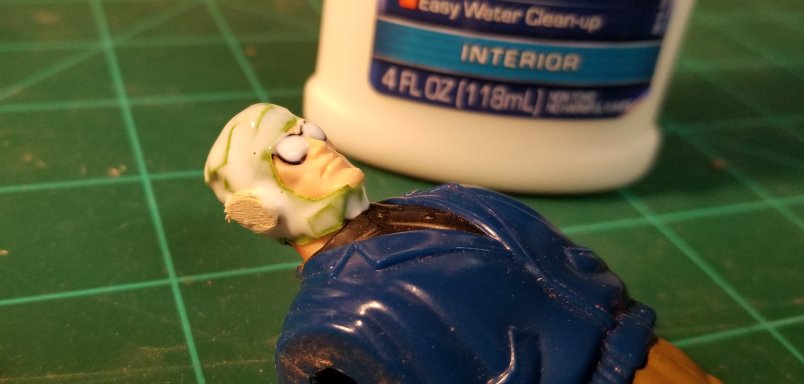
I researched several different methods for making molds. Of course, there are professional mold-making products available, but they tend to be more expensive and excessive for this small project. I found YouTube resources that were mostly geared to the soap and candlemaking hobbyist. Research revealed that pure silicone caulking makes a very effective and durable mold. I discovered a “wet” method and a “dry” one, eventually using the latter to make my molds. I gathered the necessary materials.
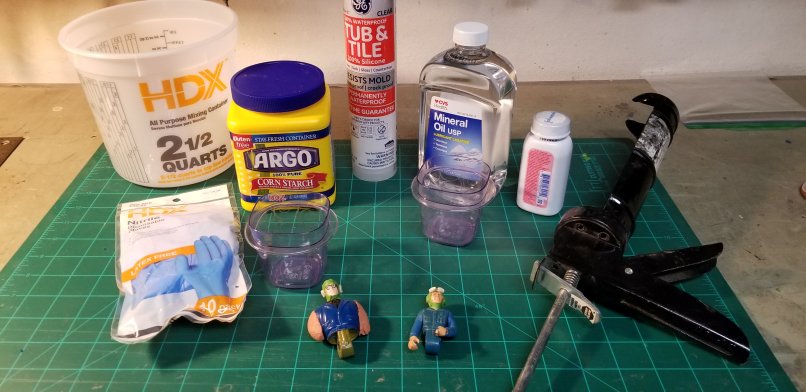
It’s important to note that the silicone to use is “silicone 1” not “silicone 2”. I don’t remember why, so I went by the suggestion. I squirted a substantial amount of the silicone into a handful of cornstarch at the bottom of a small bucket.
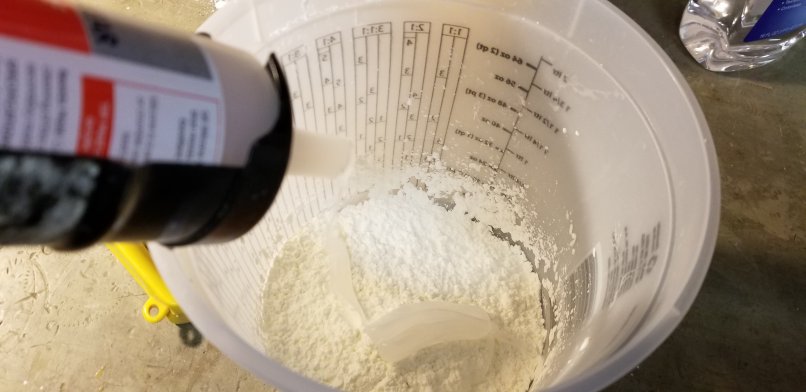
Wearing neoprene gloves (not latex, according to the video), I worked the silicone like pizza dough, adding cornstarch whenever it started to get sticky. I also folded in a splash of mineral oil — but not much.
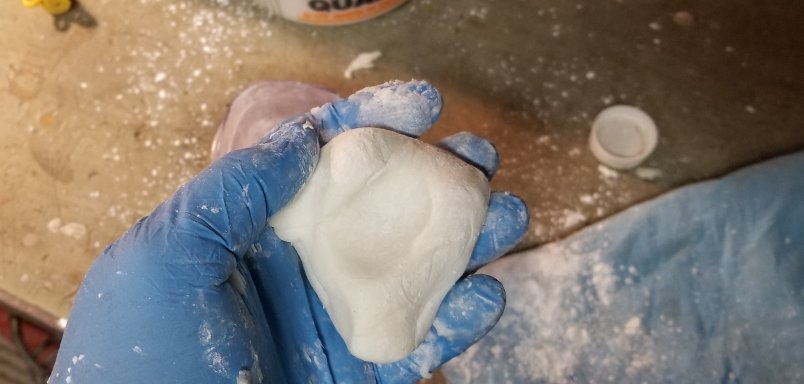
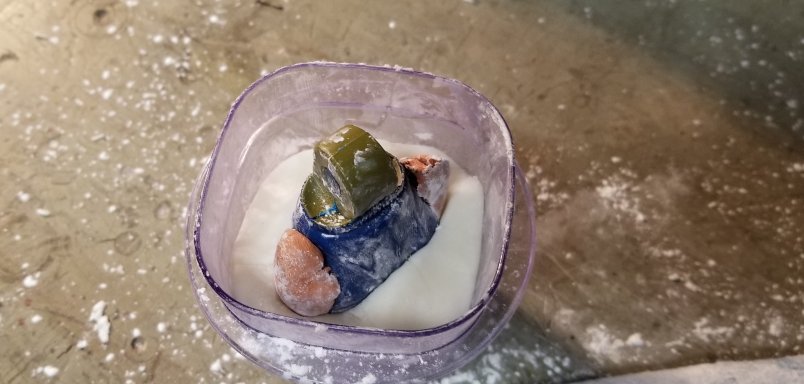
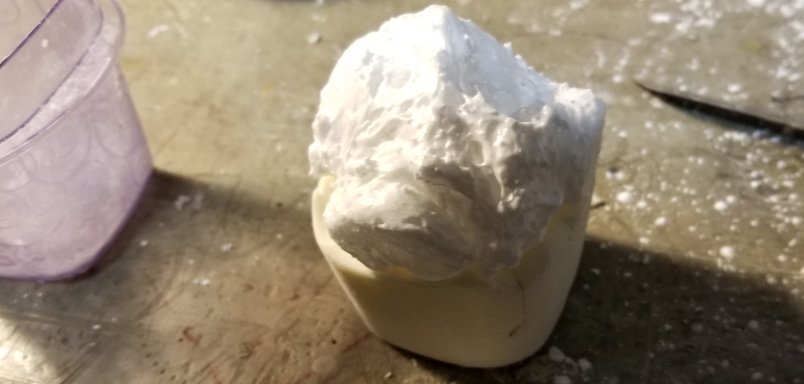
As soon as I felt it was firm enough, I stuffed the blob into an old Tupperware container that had been retired from kitchen duty, and into which I had spread a coating of mineral oil.
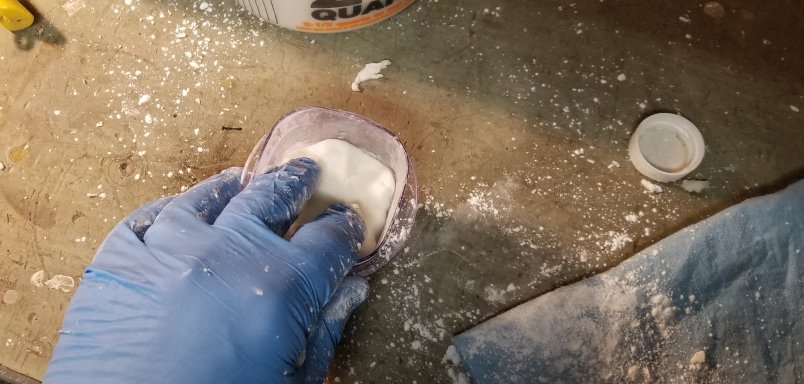
Since I only need the pilots to be from the shoulders up, the small container was more than enough for the job. I sprinkled talcum powder over the figure…
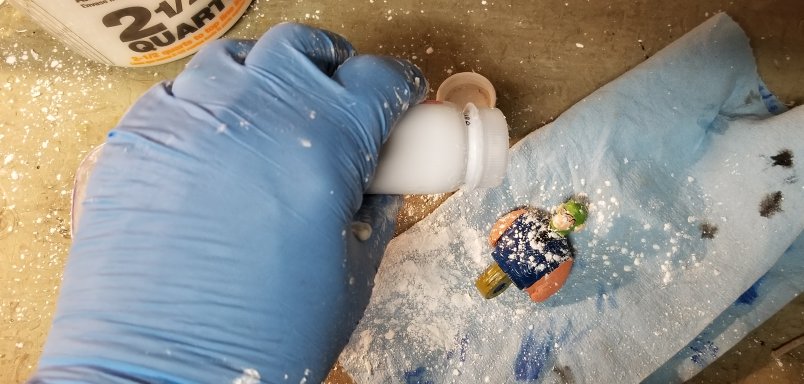
…and plunged him head-first into the mold material.
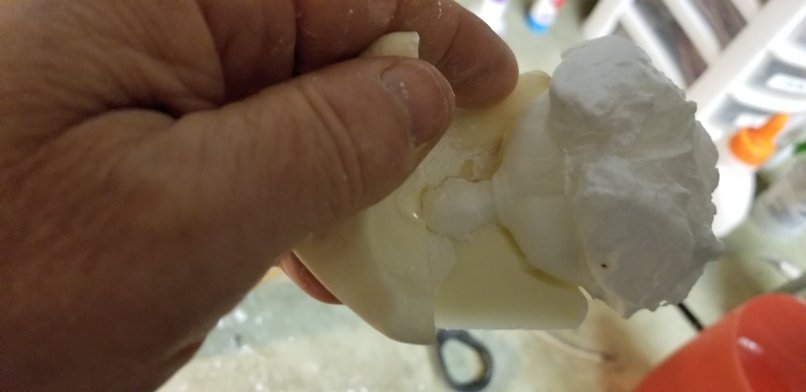
It didn’t take long for the mold to harden and become rubbery. The mold popped easily out of the container, but there was a problem. While the silicone had conformed perfectly to the figure’s head, that meant that his chin prevented the easy removal of the figure from the mold (without ripping off his head). The solution was to cut the silicone mold along the sides, leaving a “hinge” at the top of his head. I could then easily open up the mold and remove the figure.
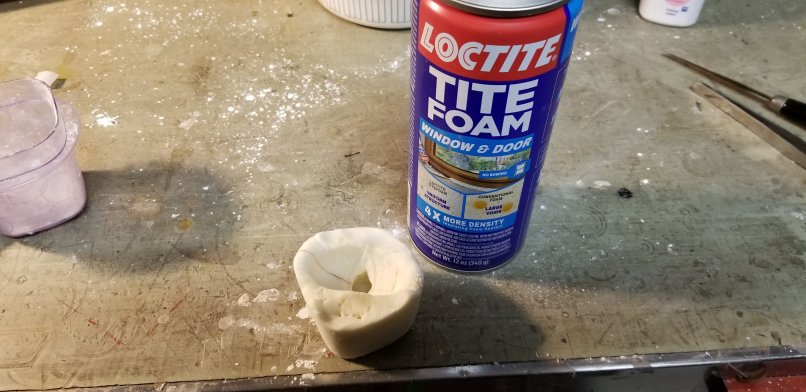
I then put the mold back into the container, pressing down tightly to minimize the separation along the cut lines and began shaking a can of Locktite spray foam.
February 26, 2019
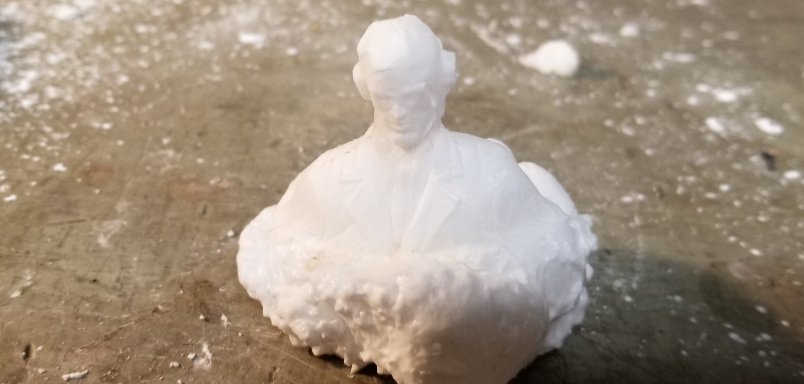
I sprayed the mold cavity with the foam, which spread quickly and was hardened in about 30 minutes. I again removed it from the container,
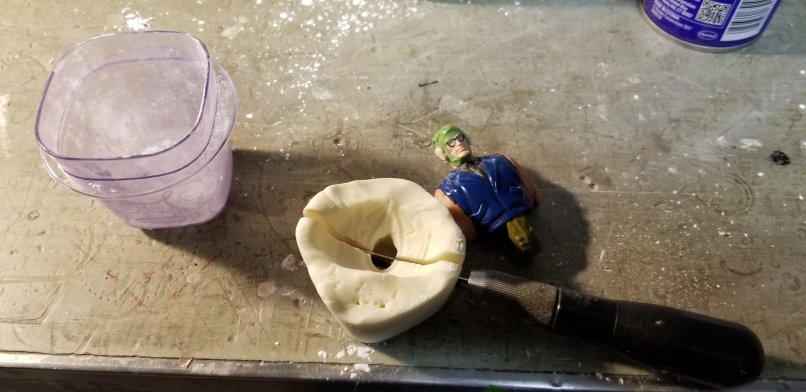
and opened the mold to reveal my foamy doppelgänger.
It kinda looks like he’s appearing out of a cloud. I decided that this would be my student pilot.
I then did the same thing with the other figure, using another container. I could have used the same one, of course, but I had a second container that needed to be used.
He would become my instructor.

February 27, 2019
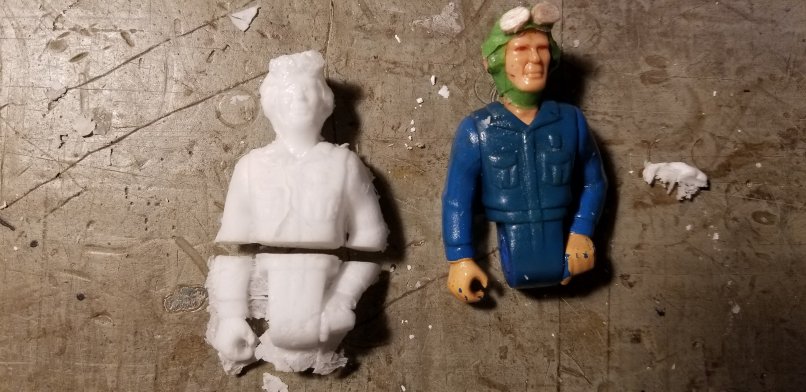
I removed the excess foam and inspected both pilots. Although the foam was fairly smooth in most places and preserved most of the detail, it wasn’t perfect. Still, not bad for a first effort. The important part was that they were light as a feather and basically “free”. The molds were still in perfect shape, so I could clone as many pilots as I wanted. Unfortunately, I was afraid that I had trimmed them too short to look realistic in the cockpit, so I decided to experiment a bit and use a different style of mold.
I once again delved into my past. When I was a kid, I had a toy that would use metal molds to create rubbery plastic insects. It was called a “Creepy-Crawler” maker. I would pour liquid plastic called “Plasti-goop” from a squeeze bottle into the molds which would then cure over a metal hot plate. Variations were occasionally released, including a “candy-goop” which created edible Creepy Crawlers. Yum… One of these variations was a mold of a three inch plastic soldier, consisting of a separate mold for the front and back of the soldier. After creating one of the halves, you would insert wire into the middle of his body and limbs and then fill the other half. This created little bendable rubbery soldiers. Even though it had been 50 years since I used that toy, I understood the concept, and employed it here.
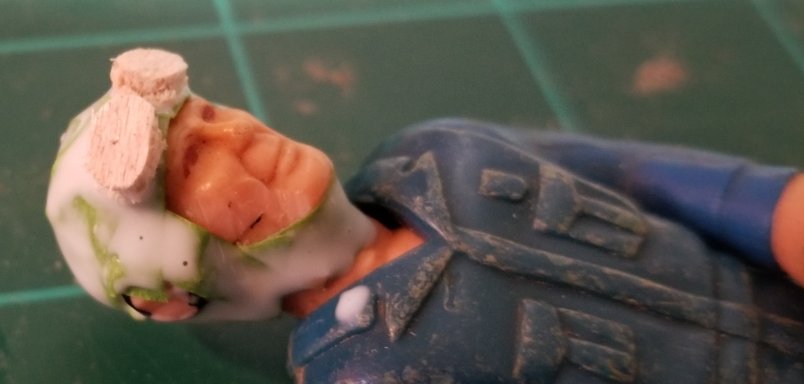
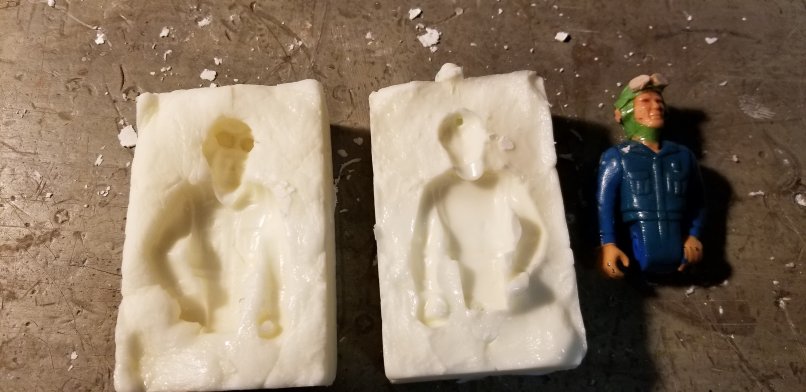
Using foam board and hot glue, I built a box to hold the torso of my “instructor”.
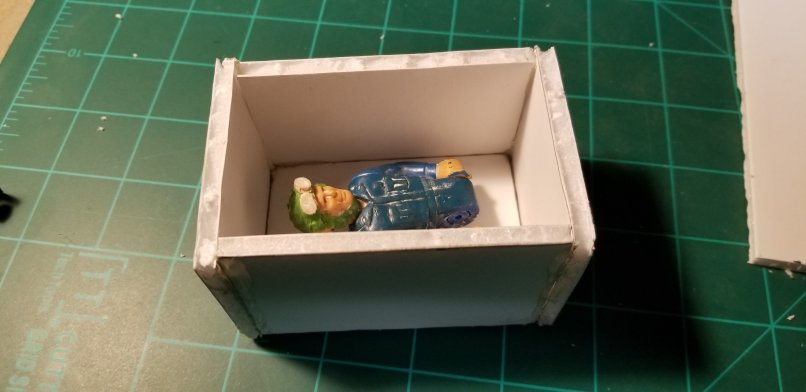
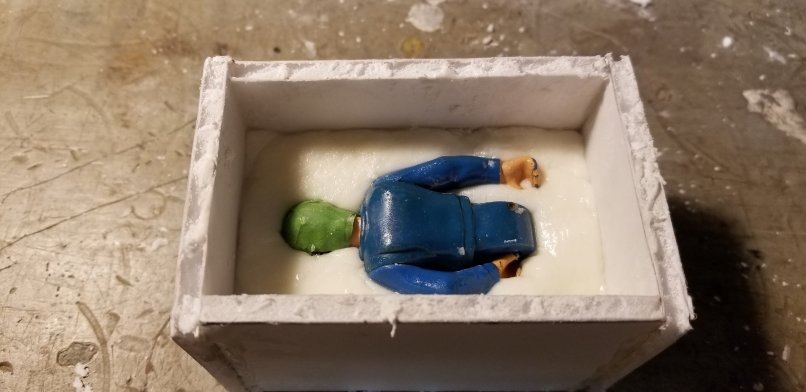
I made another batch of silicone mold and placed the figure halfway in, face-down. I then painted all the exposed surfaces of the figure and the silicone with a layer of mineral oil.
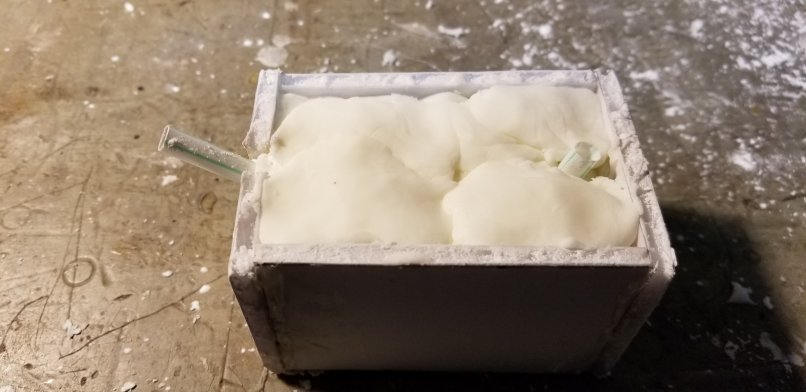
I realized, almost at the last minute, that I needed to allow for a channel to inject the foam, and added some pieces of a drinking straw extended to touch the figure.
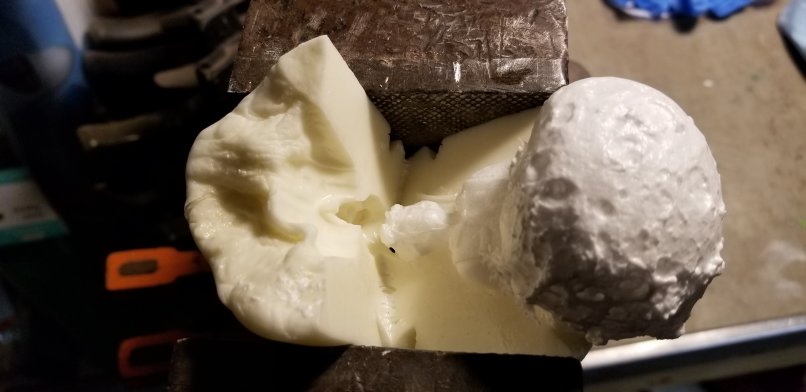
After hardening, I disassembled enough of the box to remove the mold.
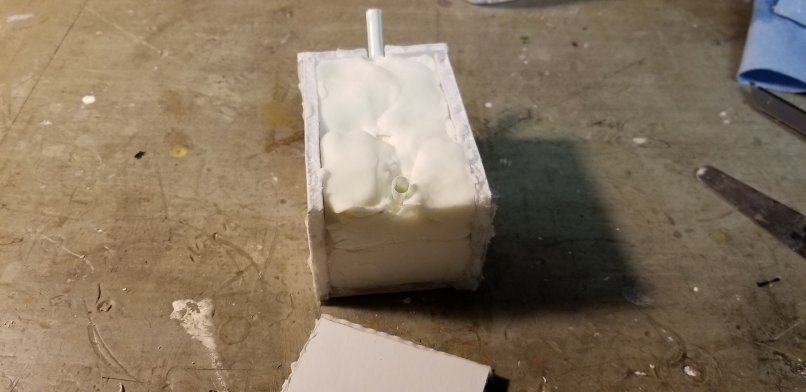
Thanks to the mineral oil, it came apart perfectly. There was more surface area of the figure to contact the mold and the detail looked really nice.
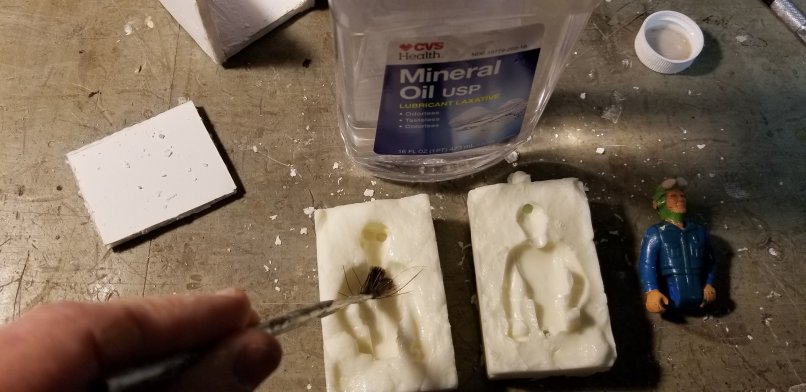
I again employed the mineral oil to cover the surfaces of the mold.
The box I created out of foam board was not sturdy (unlike the Tupperware containers) so I employed rubber bands to hopefully minimize the foam leakage.
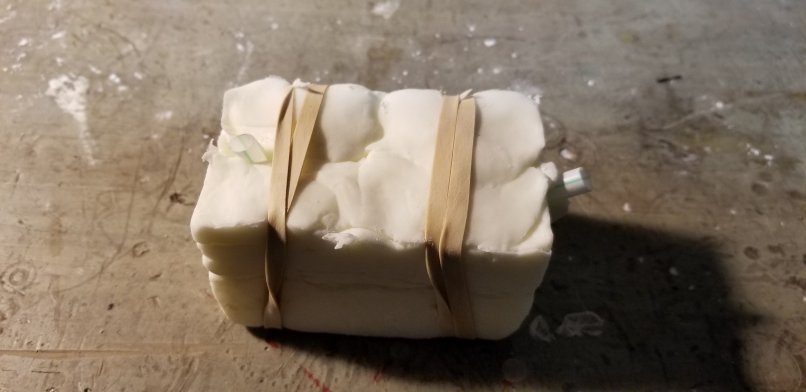
The sprayed foam leaked out the cracks on the sides anyway, but it would prove to be a simple process to trim.

After separating the mold, most of the flashing could be pulled away easily.
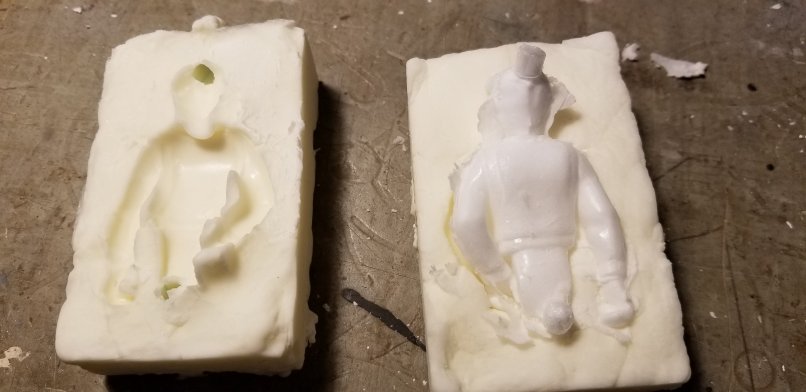
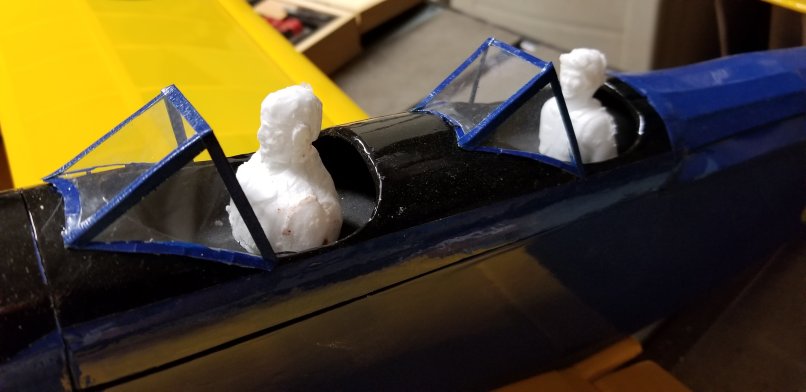
The detail is much clearer with this method, and I was able to trim the figure at the height I wanted.
My PT-19 “Ghost Pilots”, ready for the paintbrush and some balsa wood bases.