January 25, 2019
In one of the construction guides for this plane, it suggested acquiring the proper decal graphics from Callie Graphics (https://callie-graphics.com/ ), but in keeping with my desire to scratch build as many components as possible, I figured I could create my own. I searched the Web for PT-19 decals and found several possibilities:
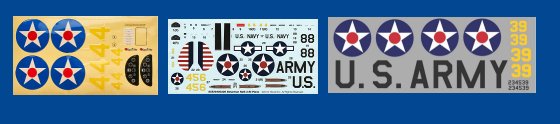
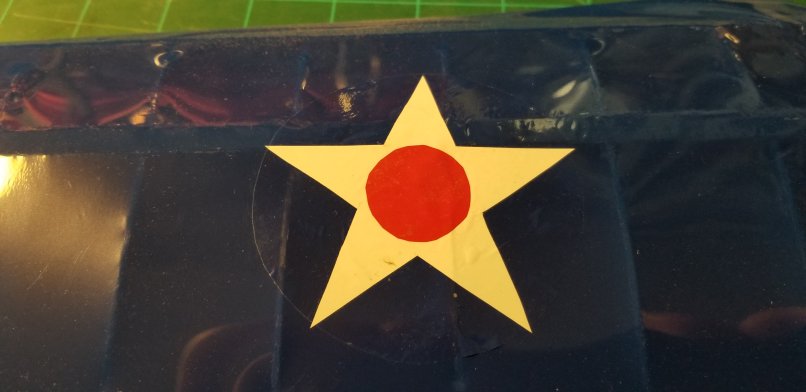
I decided to pick and choose my decals from these. (The one in the middle above is actually from a PT-17 Stearman, but it’s the same idea). I would download these decals, size and print them, and re-create them with MonoCote covering material. I conducted an experiment to see if it would work on a partially covered wing.
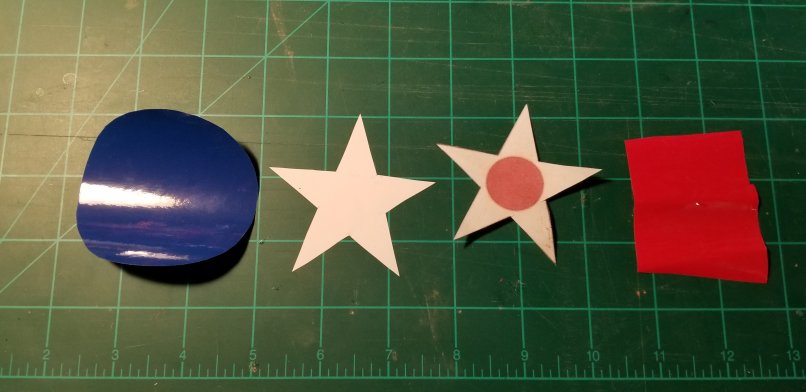
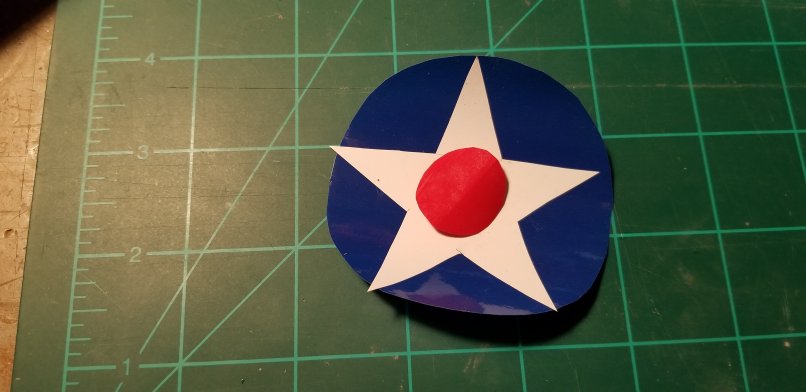
It worked perfectly — ironed down easily. Doing it this way was quite a bit more time consuming, but preserved my scratch-building theme.
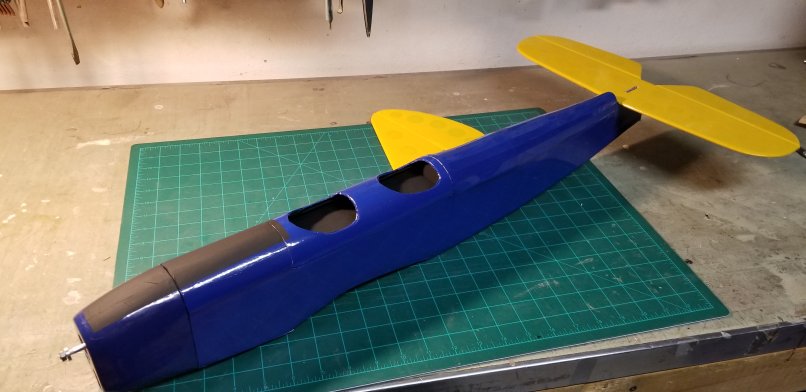
While researching the decals, I referenced pictures of the actual plane and noticed that the top of the fuselage, in front of the cockpits, was painted black (or had some sort of black material attached). This was, presumably, to reduce the glare from the sun.
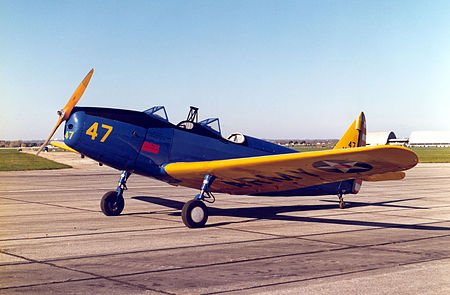
I wasn’t sure how water-based acrylic would work over the UltraCote, so I painted just the top from the front cockpit to the propeller.
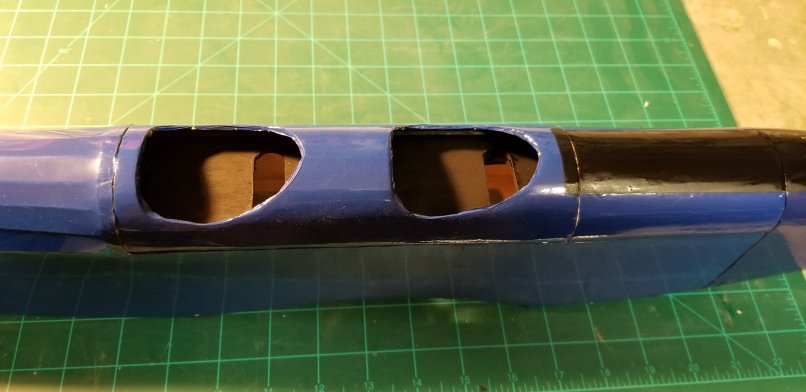
It seemed to work fine.
January 26, 2019
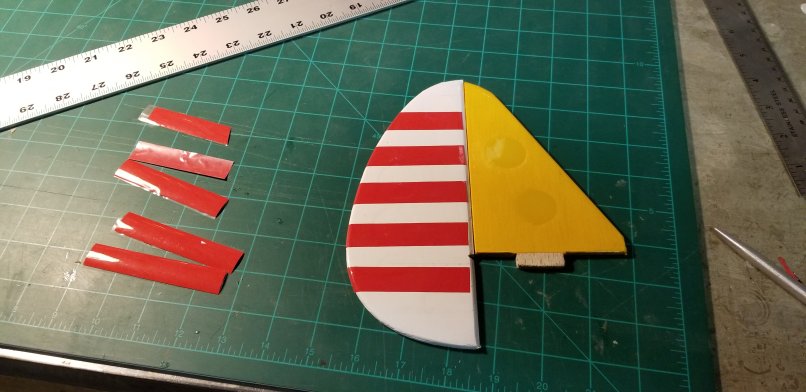
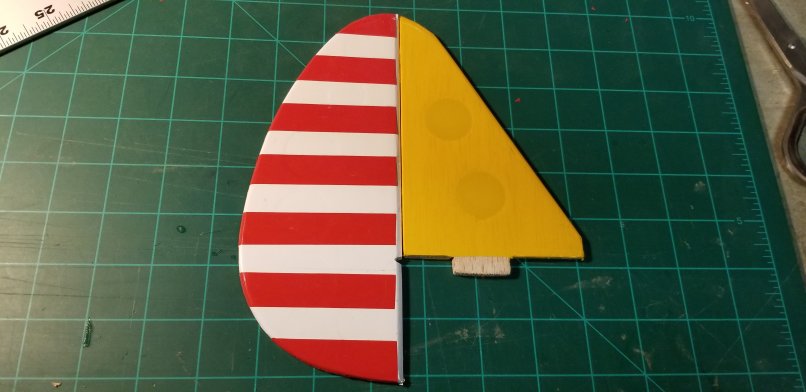
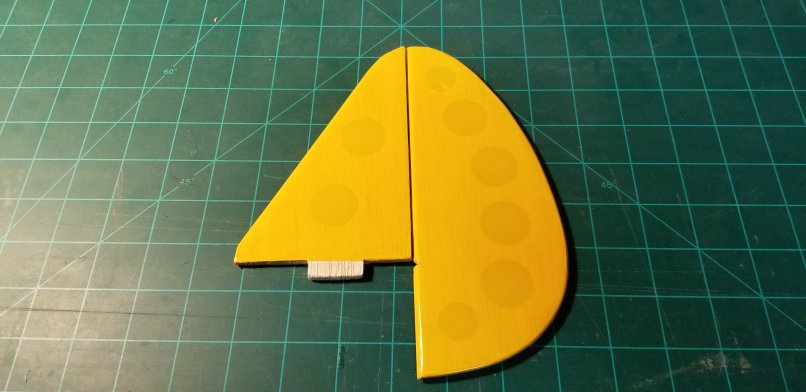
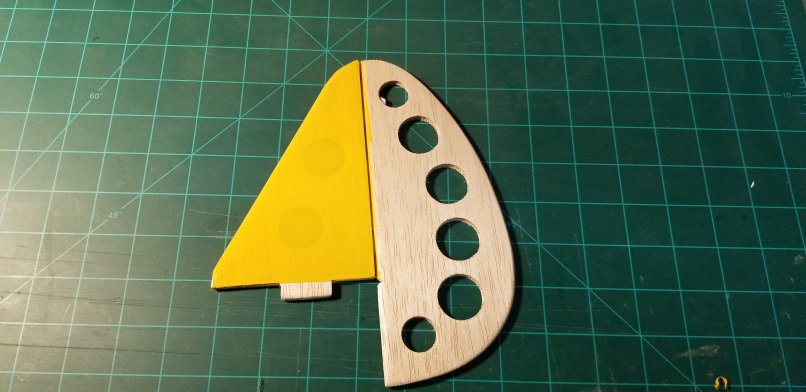
I noticed that the rudder design consisted of a blue vertical stripe at the hinge and thirteen red and white stripes. Well, I had already covered the rudder earlier and had glued the hinges in place.
So, I carefully removed the yellow covering,
and replaced it with white MonoCote. Then, after doing a little math work,
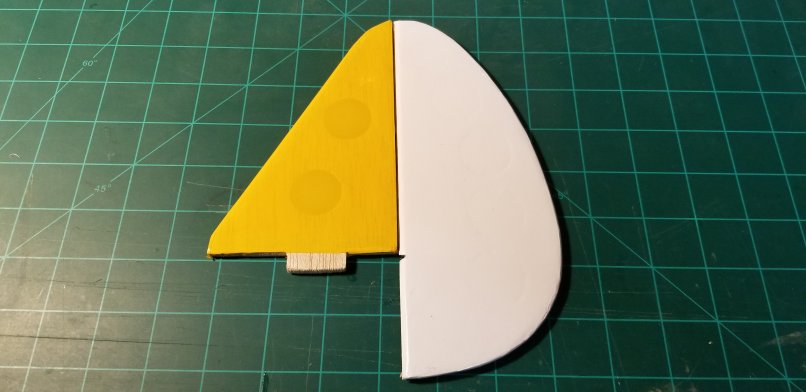
I determined the exact measurements of the red stripes that were needed for the rudder design. The addition of the blue vertical band rounded out the decal.