January 23-24, 2019
The technique is basically the same for the fuselage as for the wing. The UltraCote sticks smoothly to the solid surfaces. I prepped the surface by using the “woodpecker” tool to poke small holes into the solid balsa sheeting, ensuring that air can escape and minimize the chances of bubbles. The instructions suggest covering the bottom surfaces first,
then the sides..
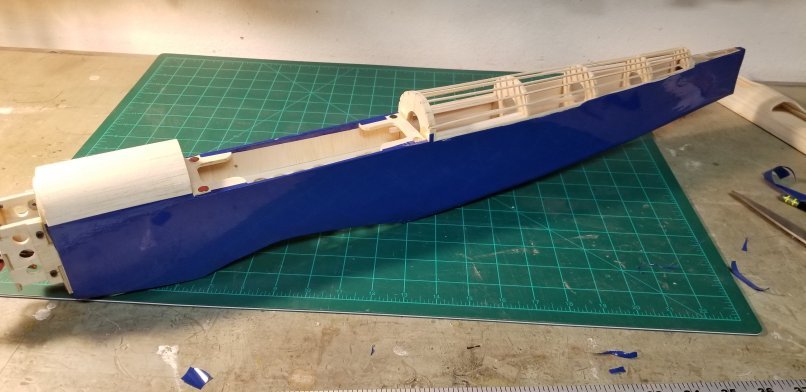
Finally, I covered the curved upper surfaces of the fuselage and the hatch, making sure to leave the battery and servo compartment clear, as well as the tail surfaces which need to be glued.
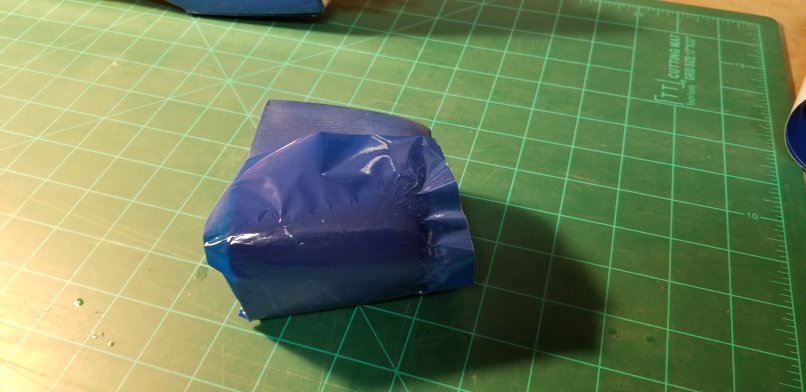
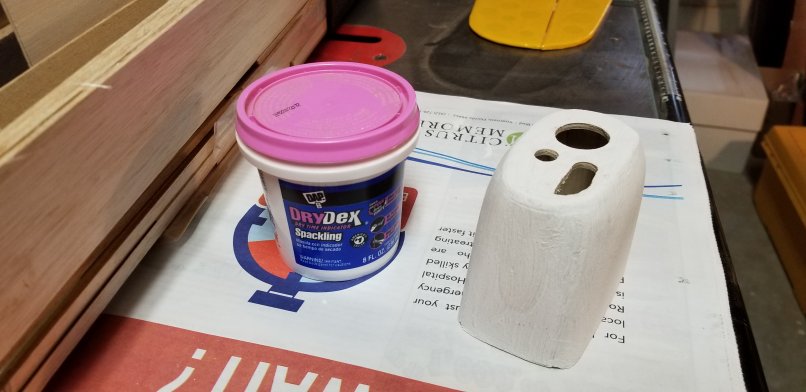
Since the cowl is all wood and has a very curvy surface, I wasn’t as confident in my ability to cover it, so I decided to paint it a matching color. I wanted the surface of the cowl to be as smooth as possible so that the texture would be close to that of the covering material. Research mentioned using spackling compound mixed with water to the consistency of paint and brushing it on the balsa.
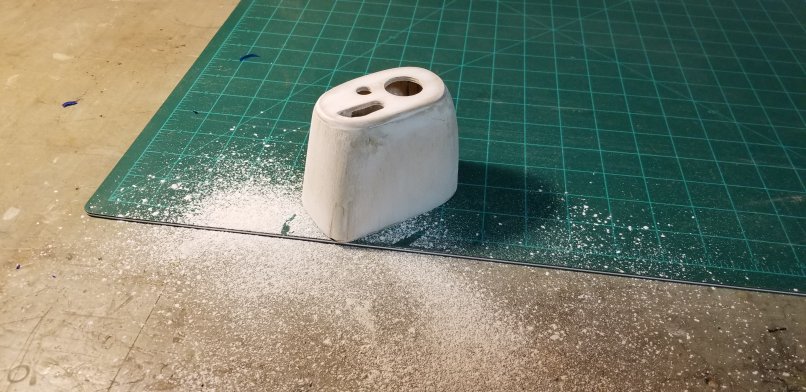
After the cowling dried, I simply sanded it smooth. It worked like a charm.
Using an airbrush and blue water-based paint (that I matched up at the hobby store), I sprayed the cowling.
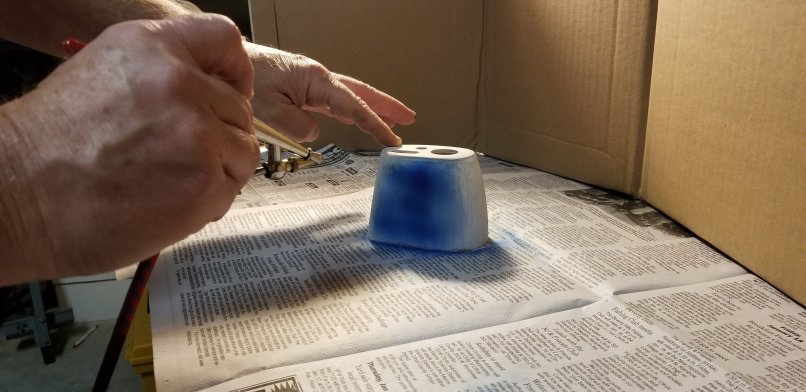
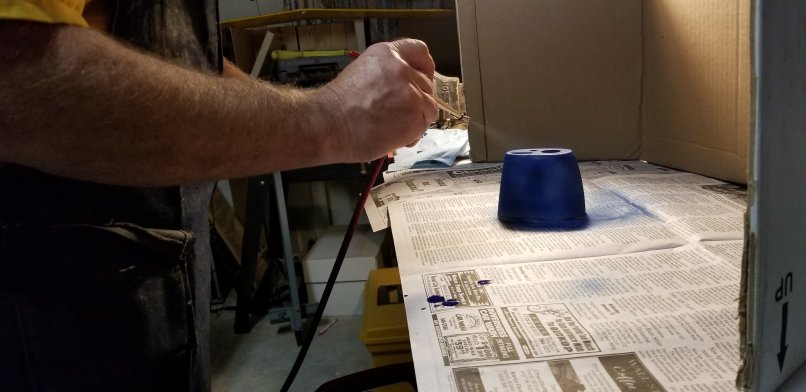
Ultimately, three thin coats of paint covered the cowling nicely. Using the airbrush helped keep the weight down.
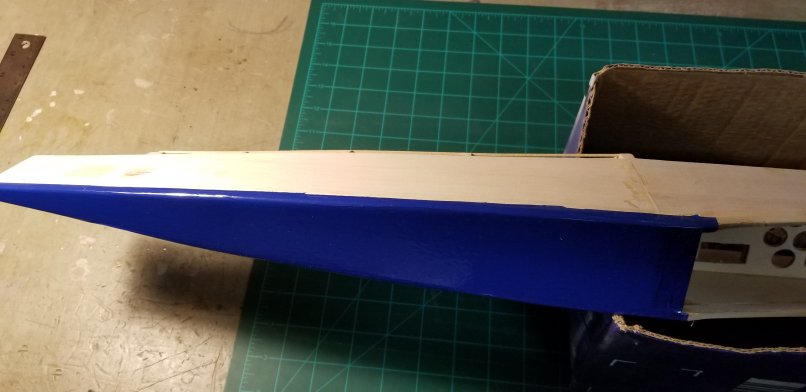
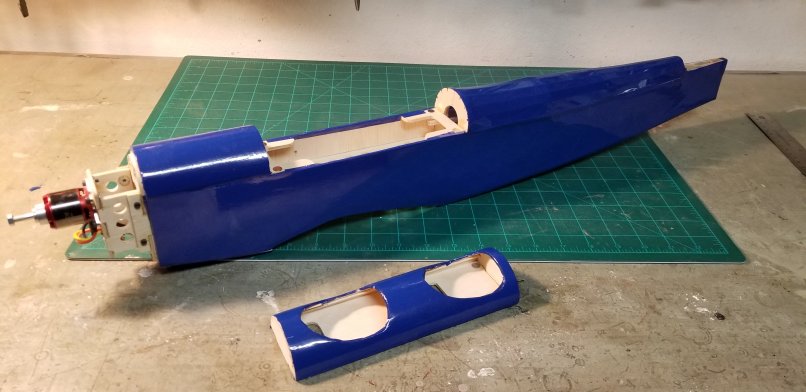
Unfortunately, the water-based paint that I used for the cowl was just a bit darker than the Parklite. I thought about sanding the thin paint down to the bare balsa, but I didn’t want to risk the perfect fit that I had painstakingly achieved. Instead, I went ahead and covered the cowl with the Parklite covering, after all. It’s still a little darker in color, but at least it shines with the same glossiness as the rest of the plane. I could live with it.