February 11, 2019
I researched the insignia and other decorations used on the actual plane, noting and estimating the correct proportions. By using the measurements on the model, I could determine the actual size of the decals I needed. I downloaded the images, sized them appropriately and printed them out.
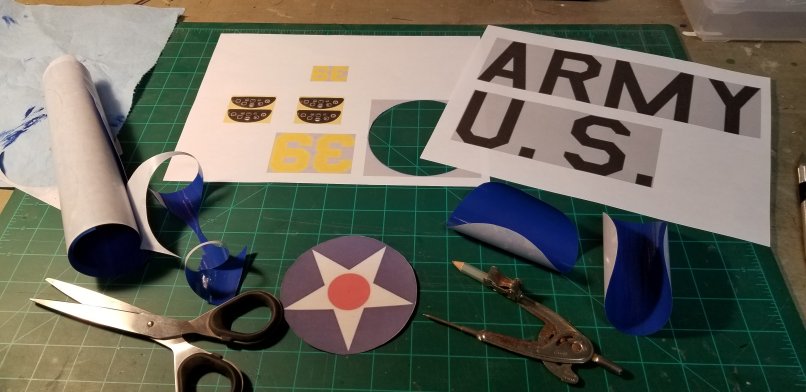
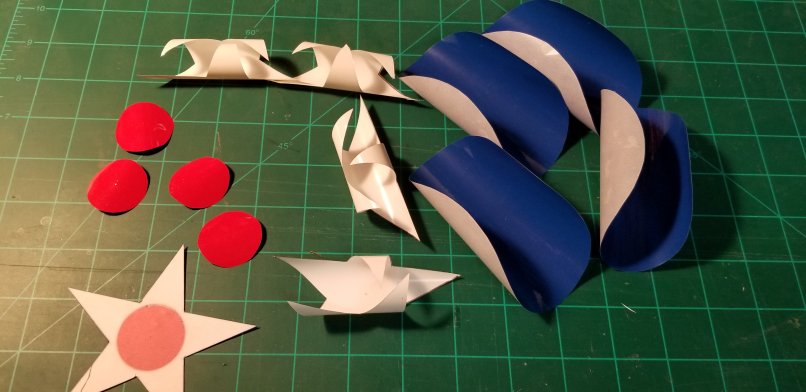
The most complex decal was the star insignia, assembled from three parts. I made the circular shapes using a compass, cut out the stars from white Monocote and the circles out of the red.
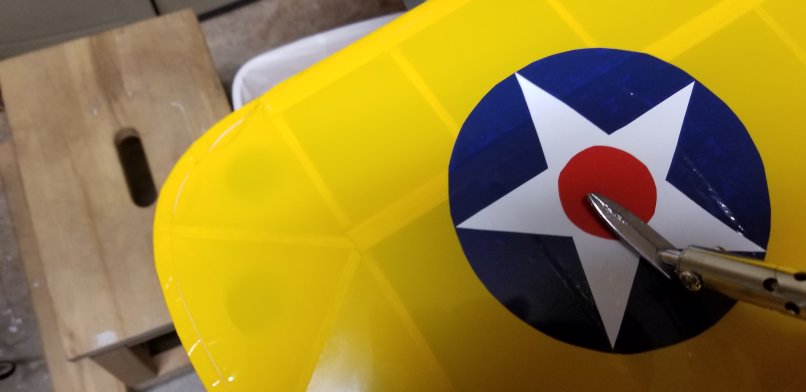
I kept the temperature of the iron low–just enough to activate the adhesive–to ensure that I didn’t further stretch the existing cover.
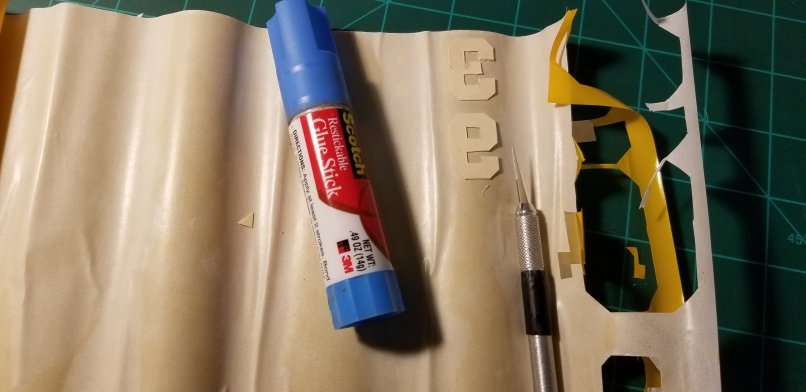
For the letters, I added an extra step. I glued the printout onto an old manila file folder before carefully cutting them out.
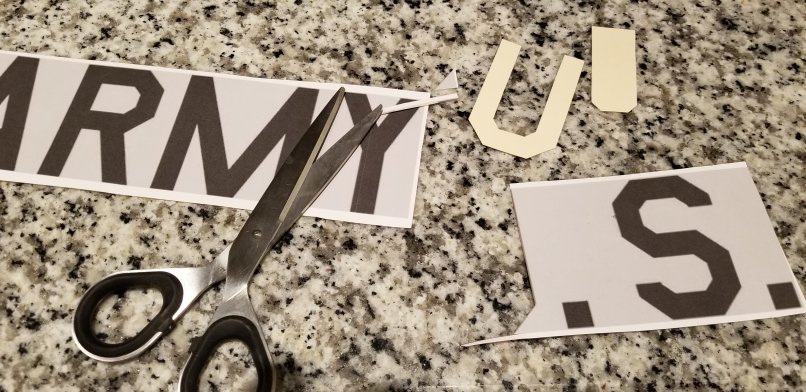
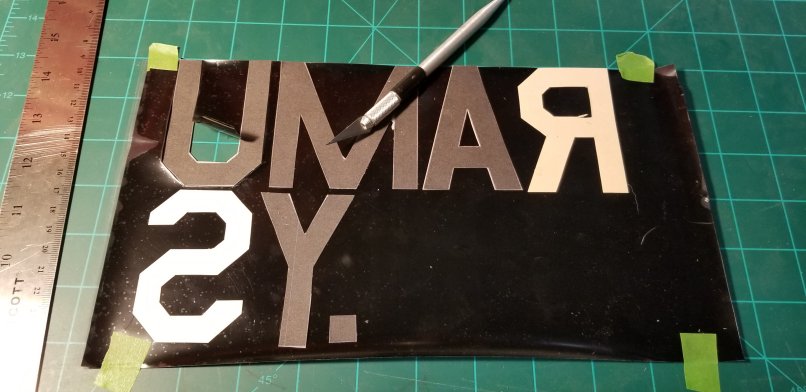
Using Scotch brand restickable glue stick, I positioned the letters on the black Monocote.
A goofy moment — US ARMY anagram could be her name…
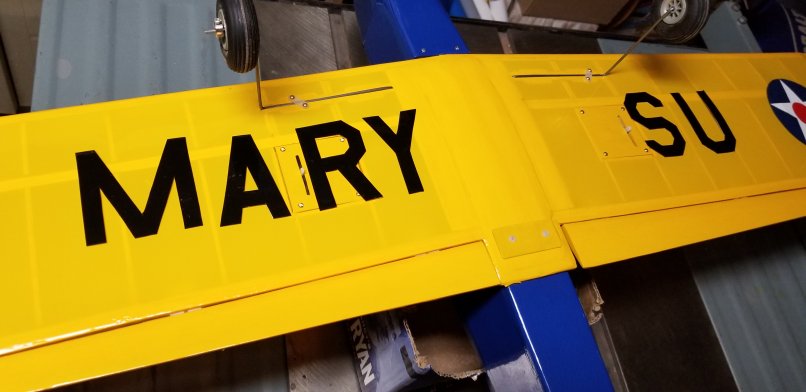
I had to re-position the letters several times to avoid the aileron servo panels, but ultimately couldn’t get around involving the “A”. It still doesn’t look too bad.
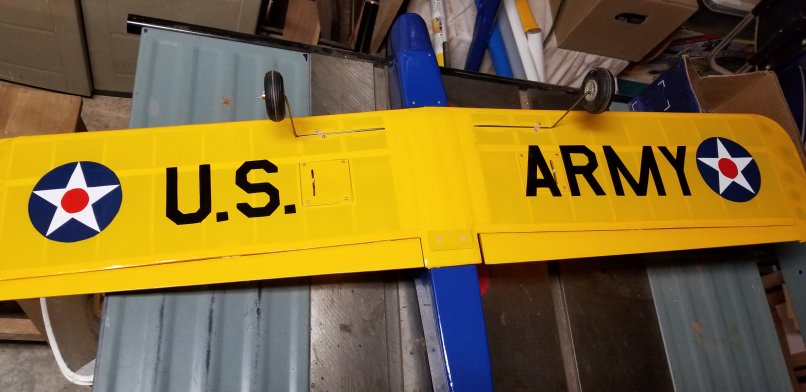
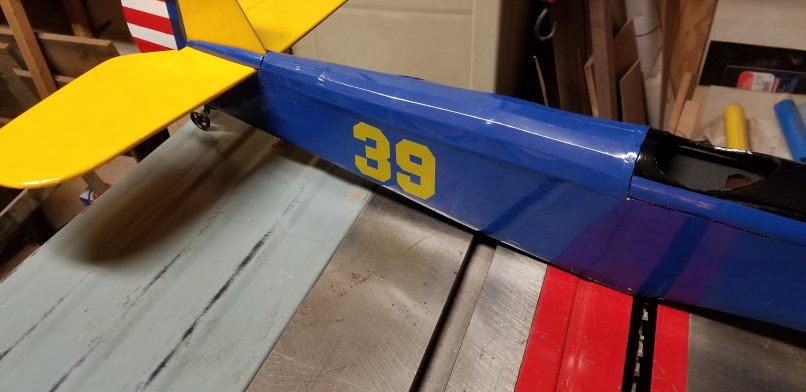
I followed the same procedures with the fuselage numbers and some leftover yellow covering material. The restickable glue is amazing stuff. I also had used it for sticking down parts cut from the plan onto sheet balsa during the building phase. It sticks very well–nice and flat–but peels up easily. It is also excellent for creating homemade post-it notes (which I believe is it’s main purpose).
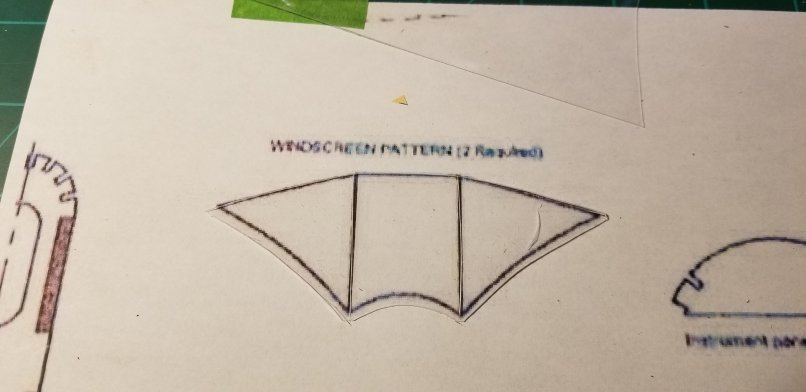
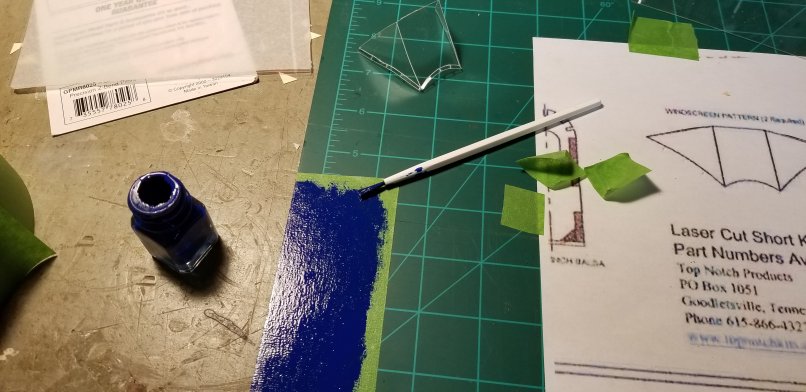
The windscreen pattern does not include any tabs, and I felt like it would be more secure if I had more surface to glue, so I cut it out a little larger than the plan and added several tabs, broken up to compensate for the curvature.
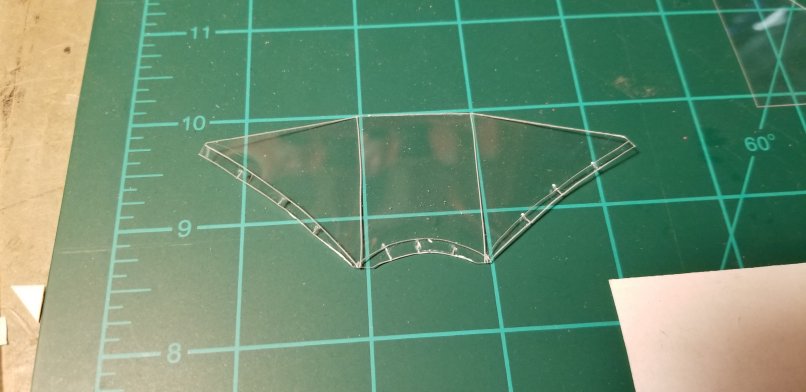
I discovered that the Testor’s gloss blue enamel (that I’ve had for about 20 years or more) was the perfect match for the Parklite blue cover. Rather than trust my 60-year-old eyesight and steadiness of my hand, I figured it would be more practical to build the windscreen frames rather than paint them on. I then painted over painter’s tape and sliced it up for the frames. The bonus is that the frames will have depth, improving the scale appearance.
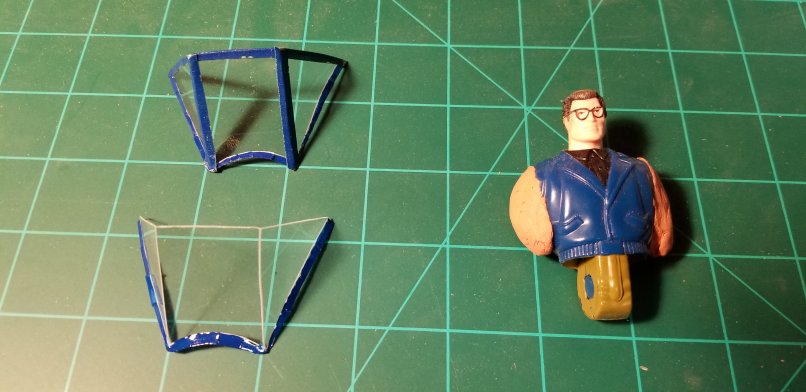
I bent the tabs to the inside to hide them behind the frame. Just a few more details are needed to finish this model (other than installing control surfaces and electronics). Here is a snapshot of the windscreens under construction along with one of my recruits to pilot this craft. Creating the pilot figures became an interesting adventure, illustrated in the next installment.
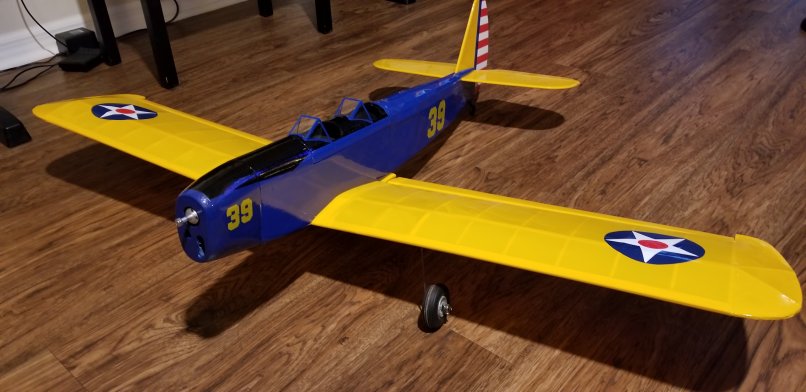
So, after almost five months of construction — picking at it whenever possible — this is how she looks. I am most pleased.